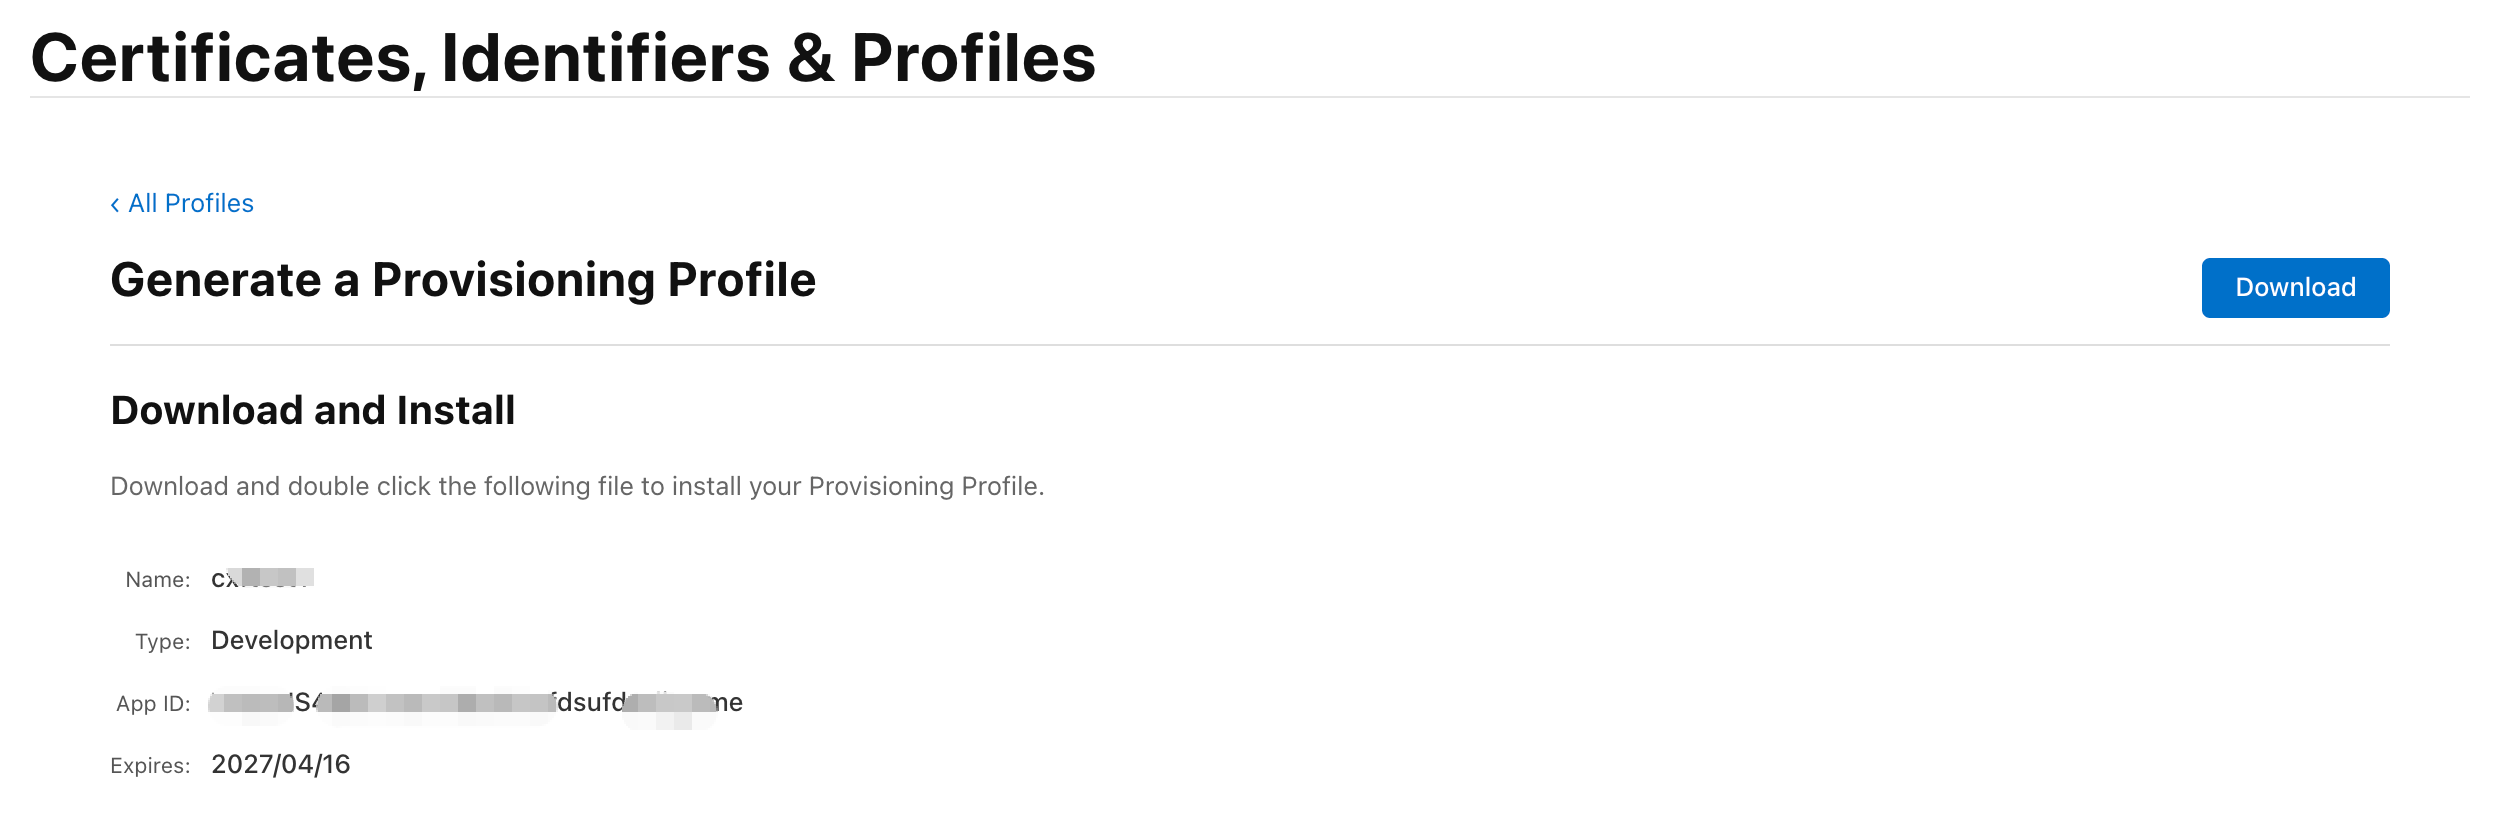
One of the first steps in iOS development is obtaining a certificate. Developers commonly refer to development and distribution certificates; this guide uses a development certificate to demonstrate the complete process.
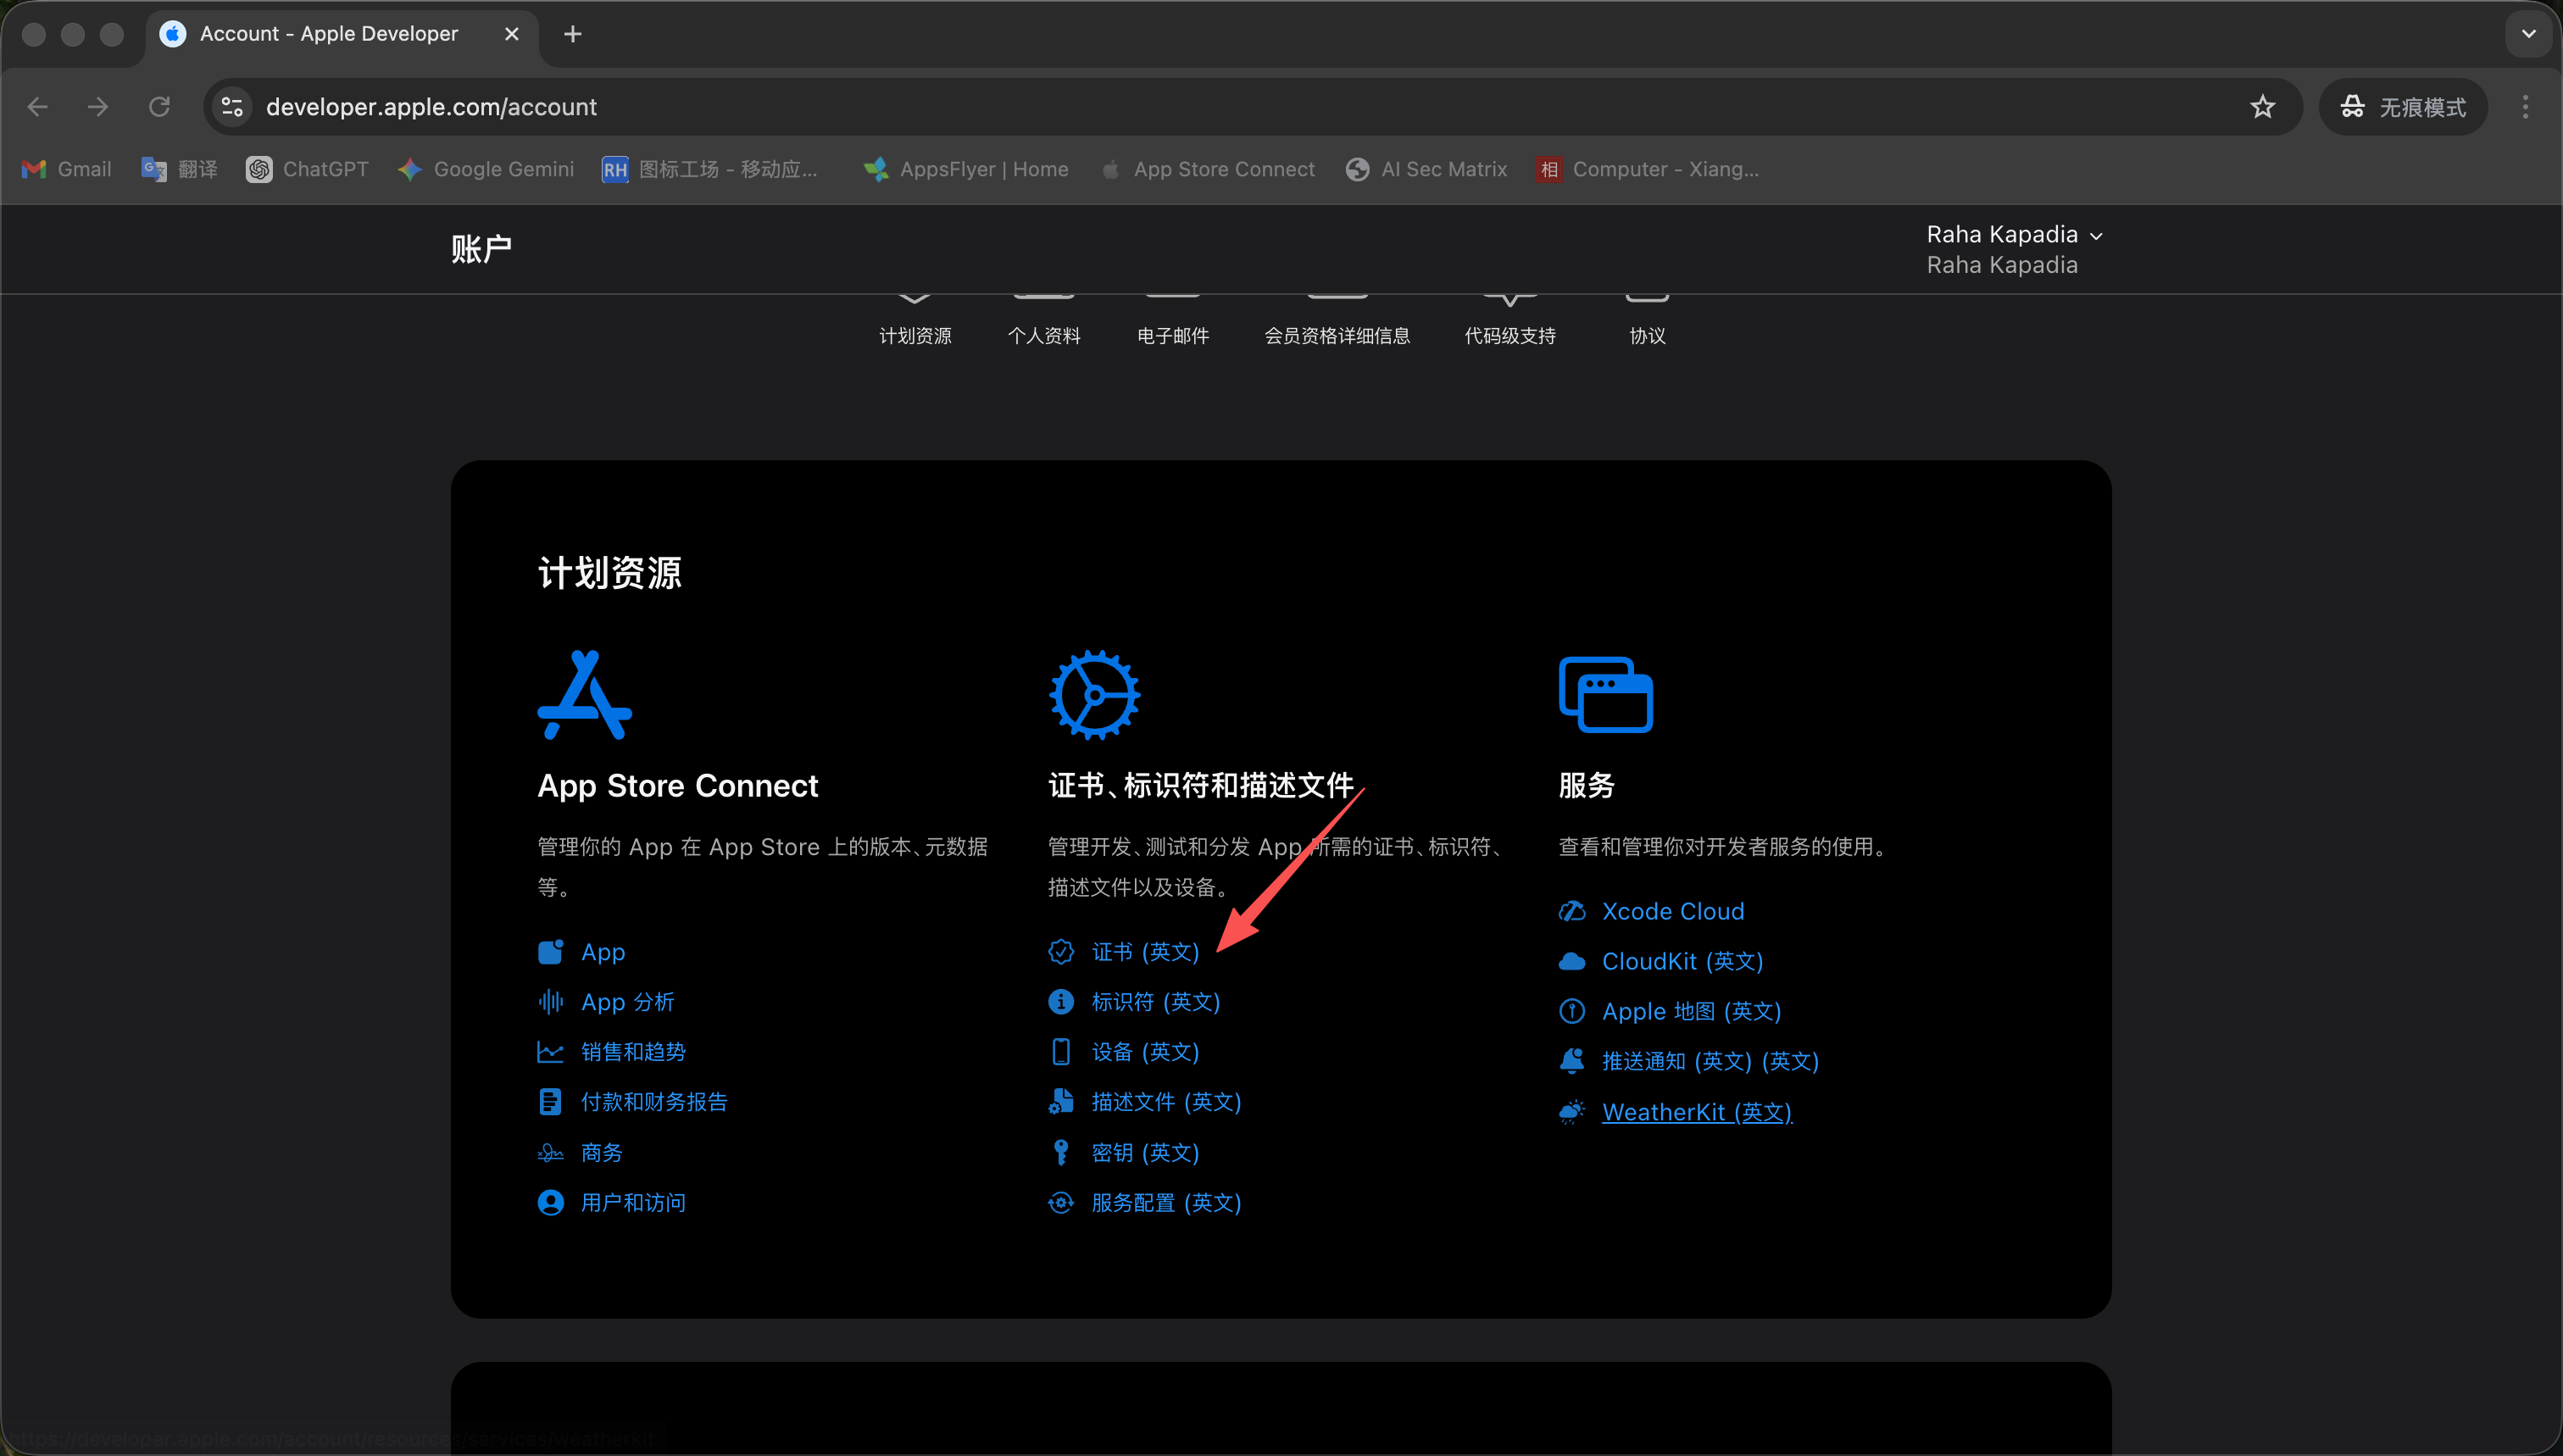
Open the Apple Developer portal, sign in, and select Certificates:
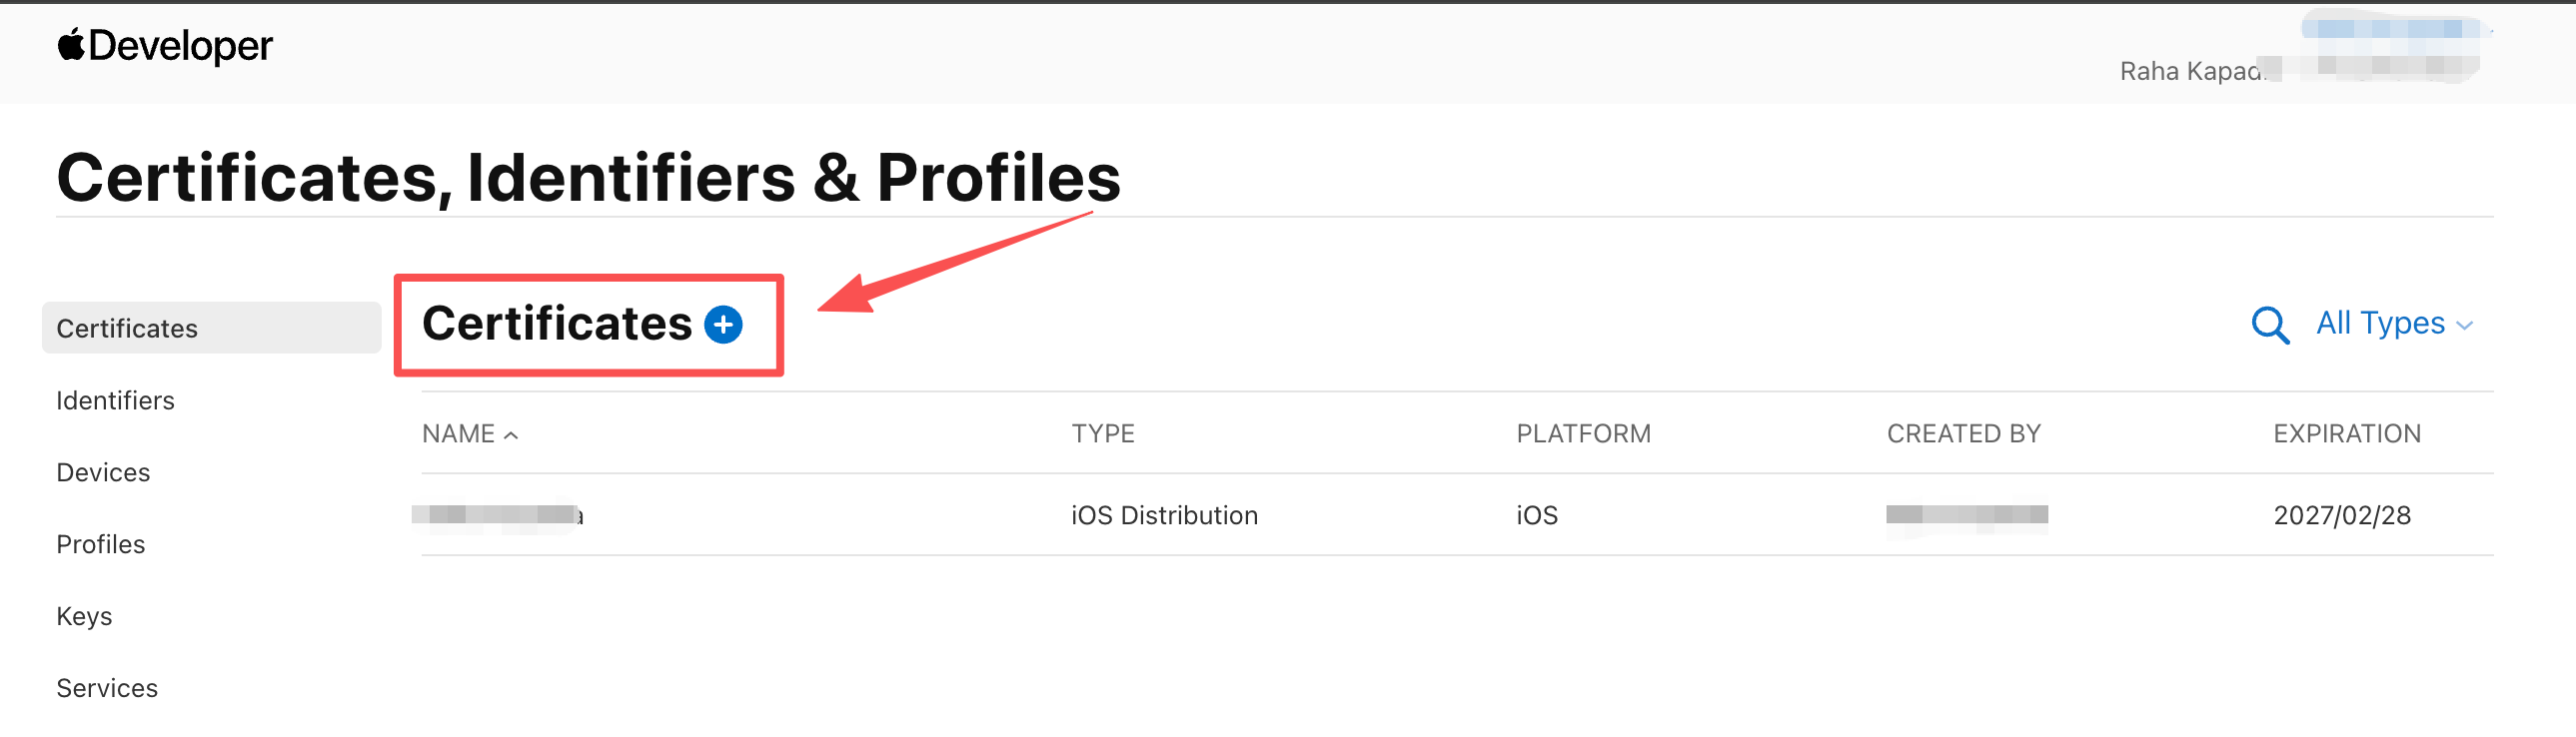
Click the + button next to Certificates:
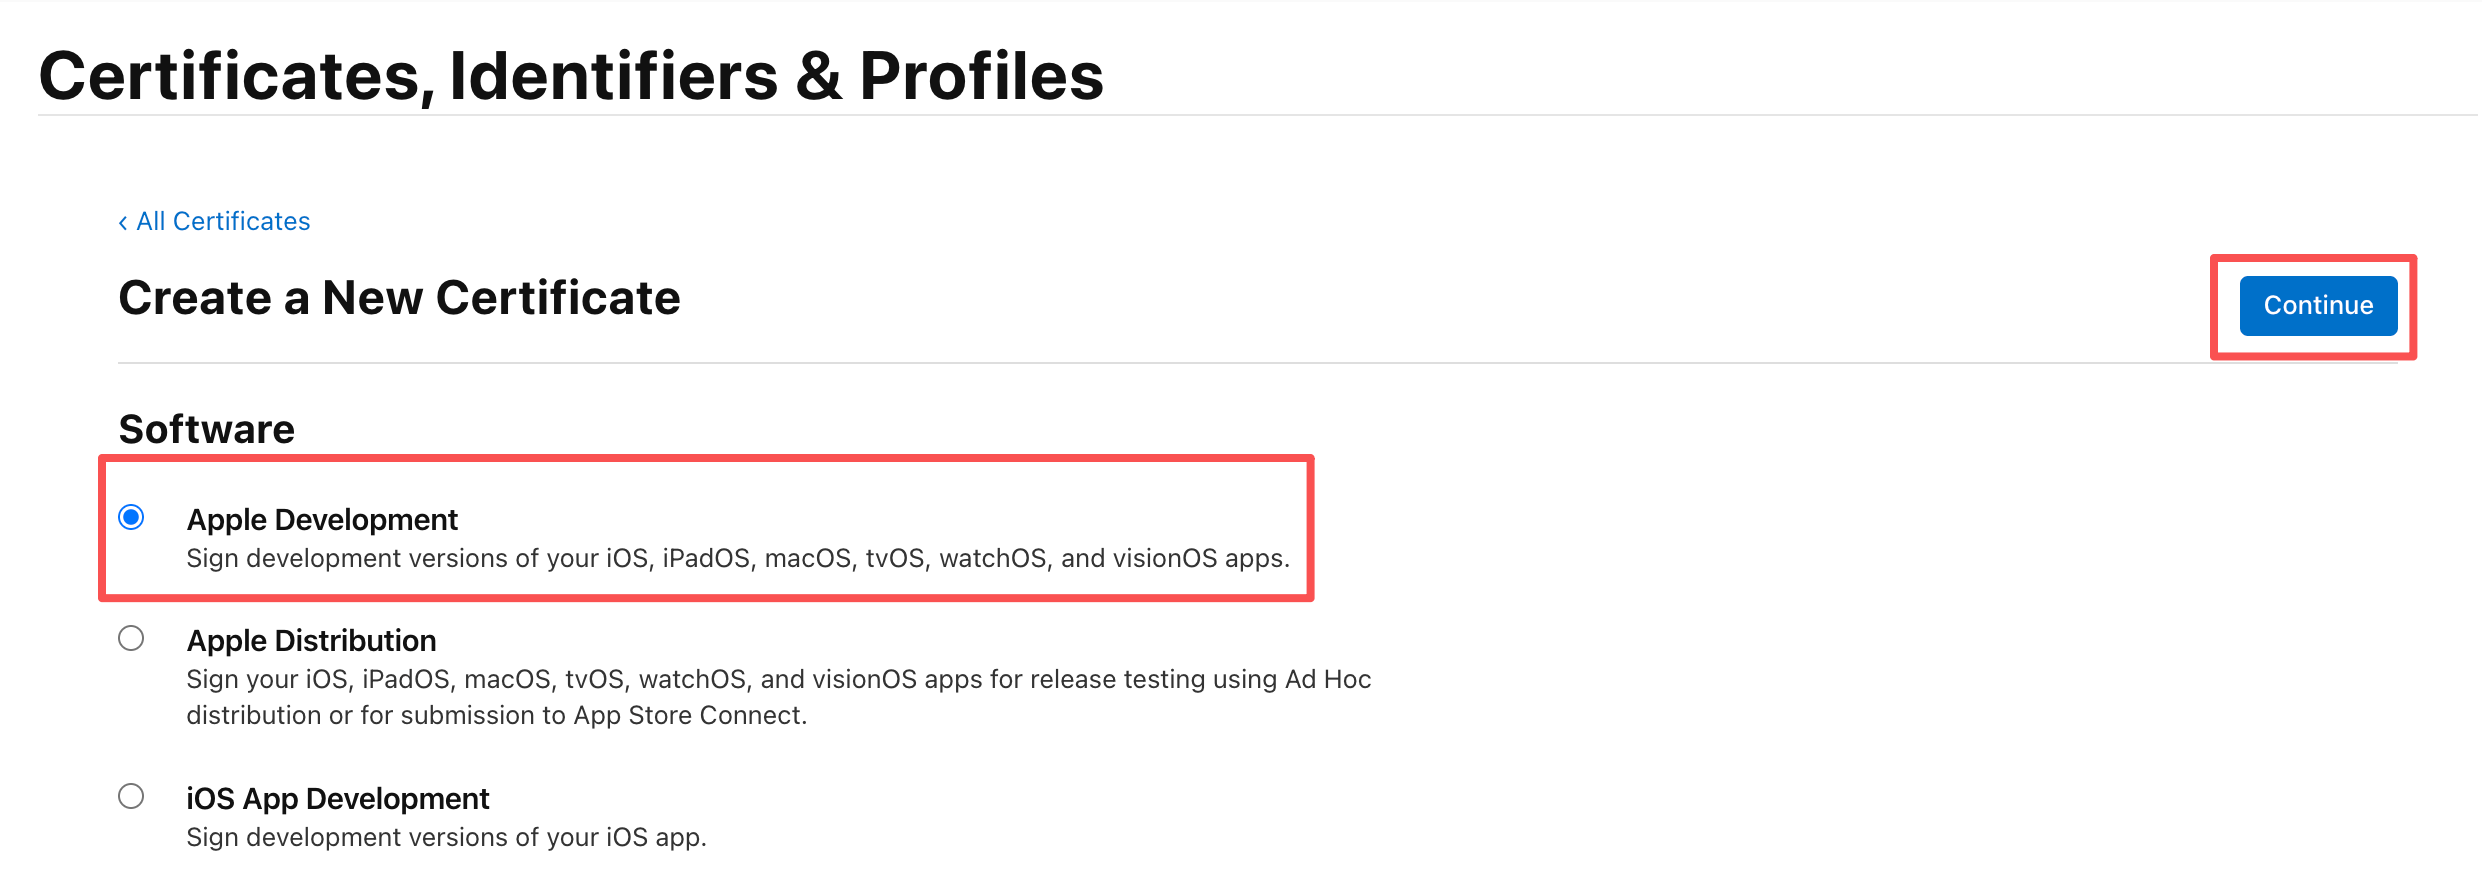
Select the certificate type appropriate for your project. This example uses an app development certificate:
Apple now asks you to upload a certificate signing request (CSR):
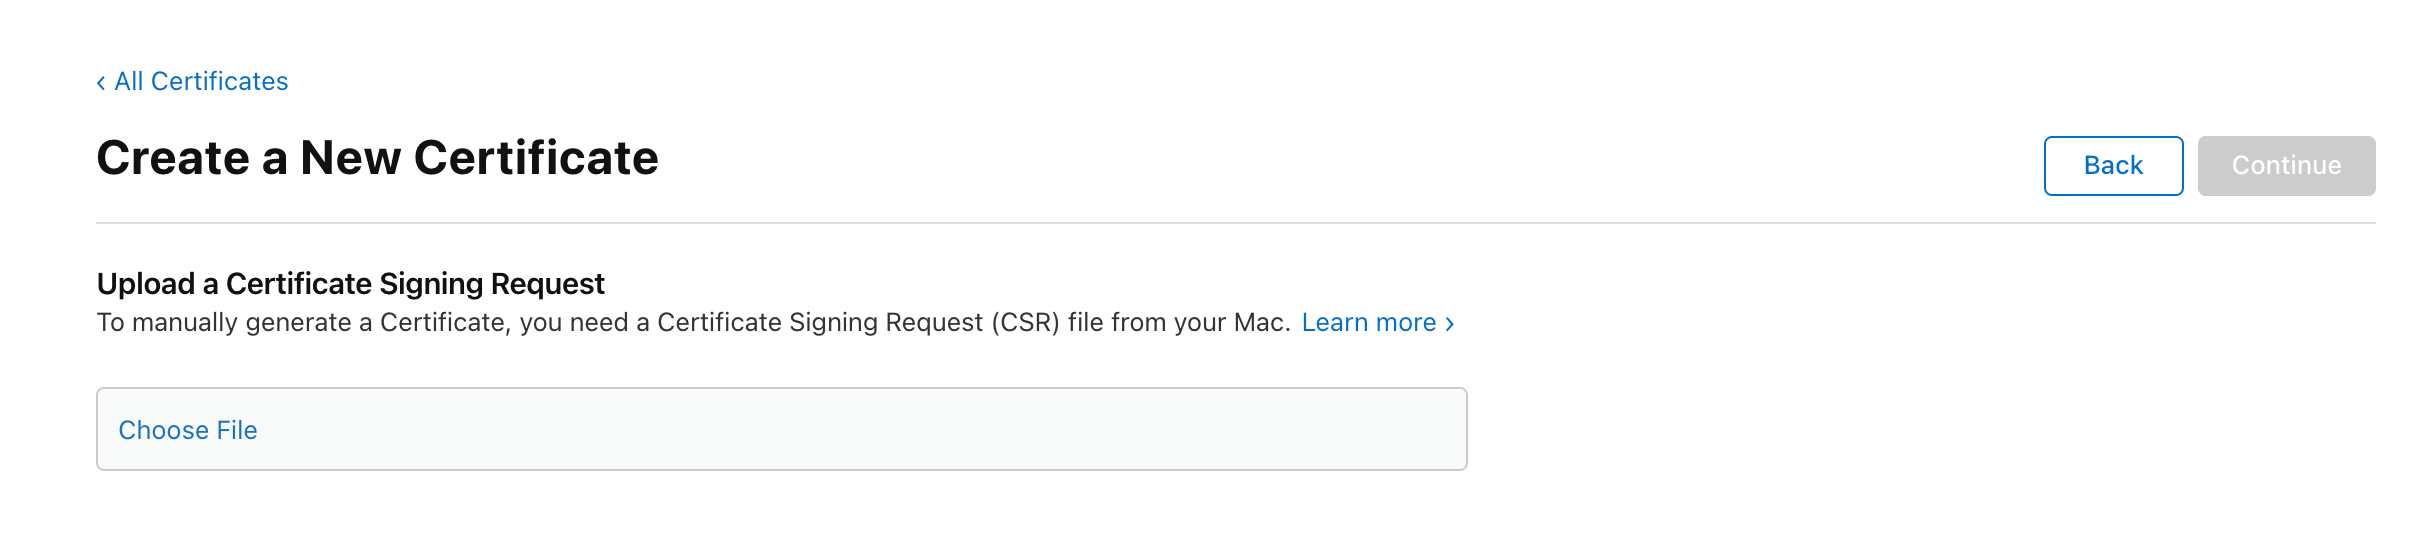
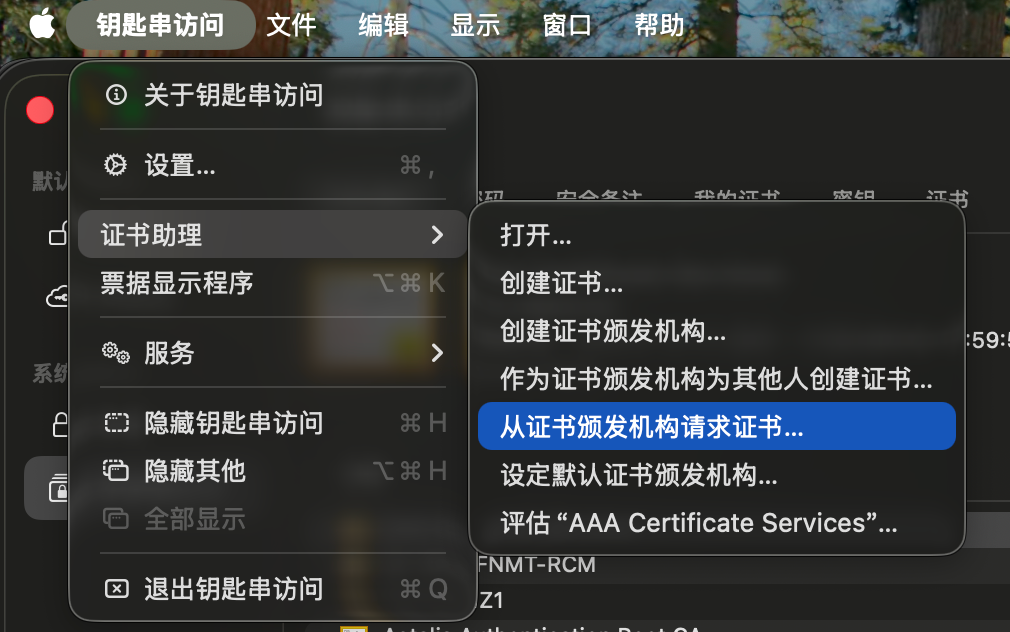
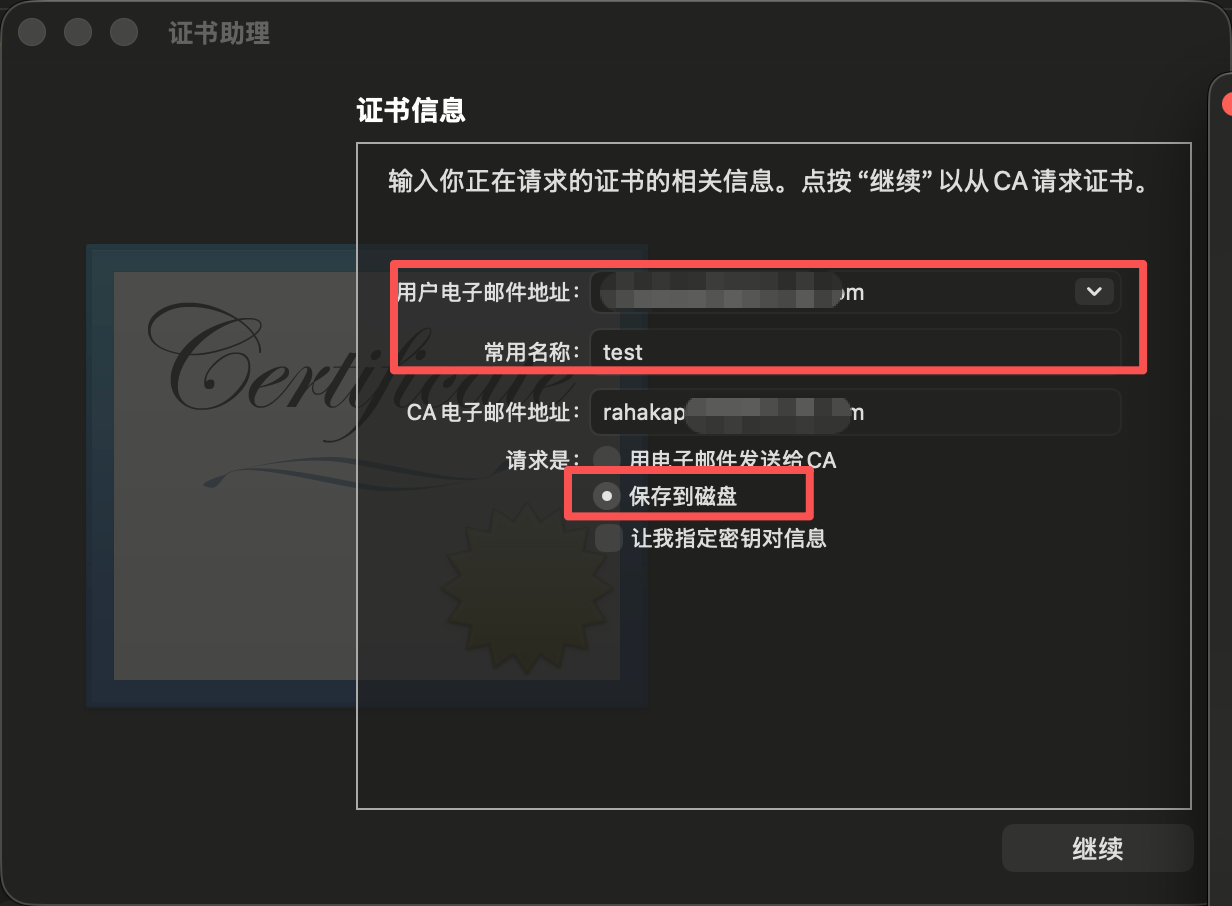
Create the CSR on your Mac by following the Keychain Access steps shown below:
Return to the browser and select the CSR you just created:
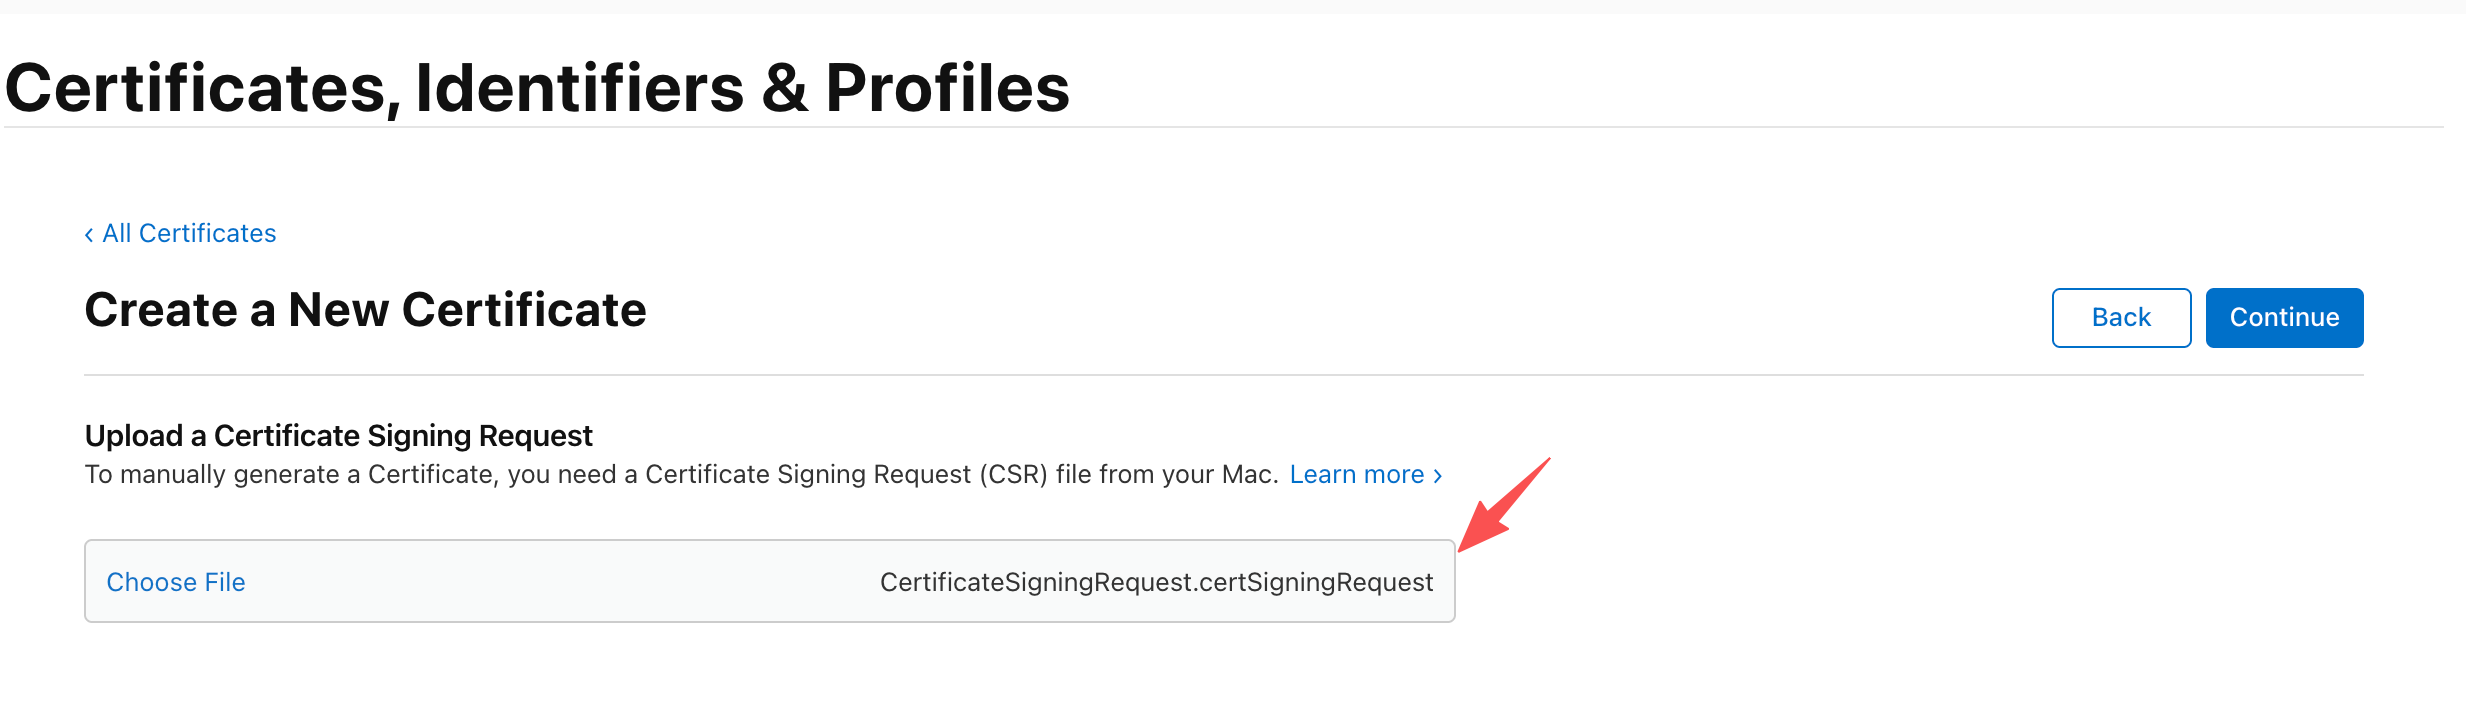
Confirm the request and download the certificate:
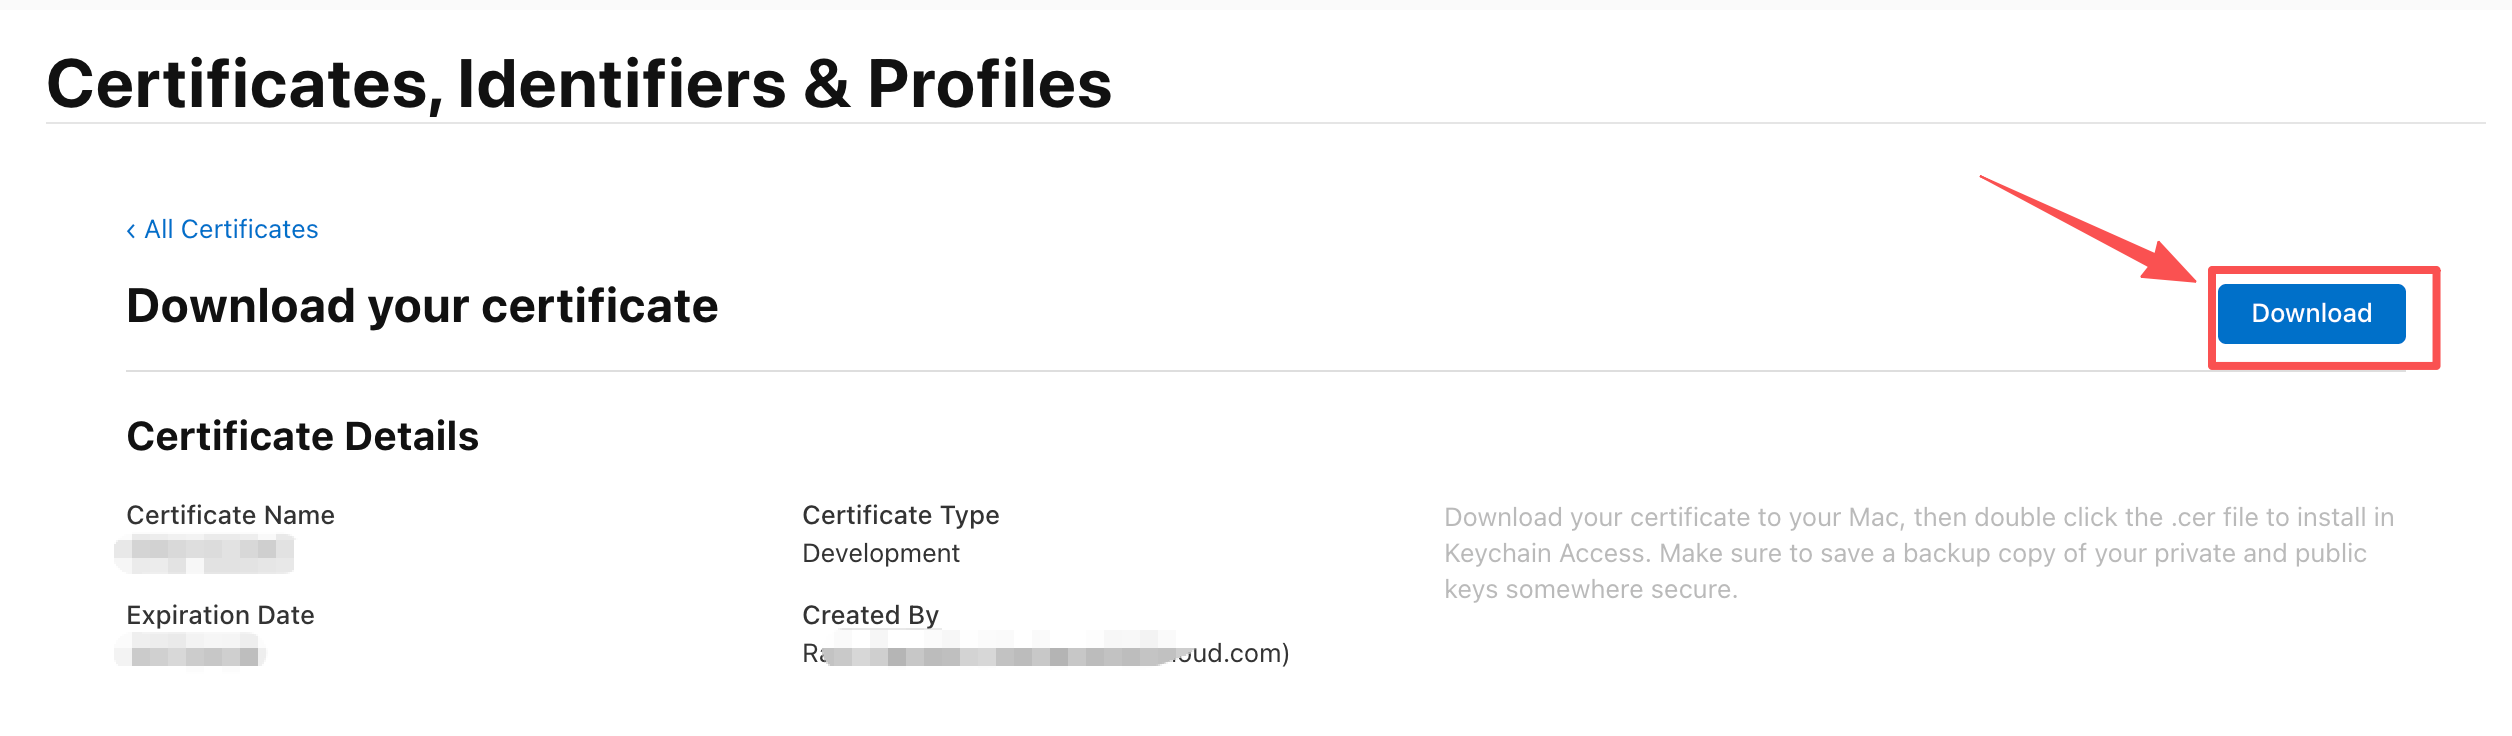
The downloaded certificate has a .cer extension:
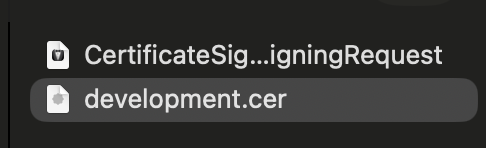
Double-click it to import it into Keychain Access:
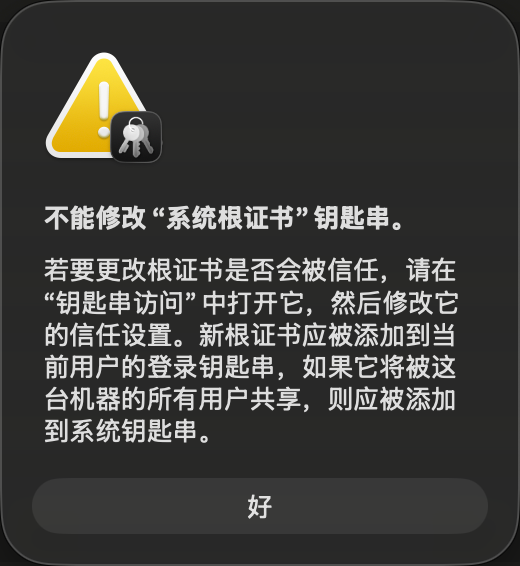
If a trust warning appears, open the certificate in Keychain Access and configure it as trusted.
Create an identifier (App ID)
Click the + button under Identifiers:
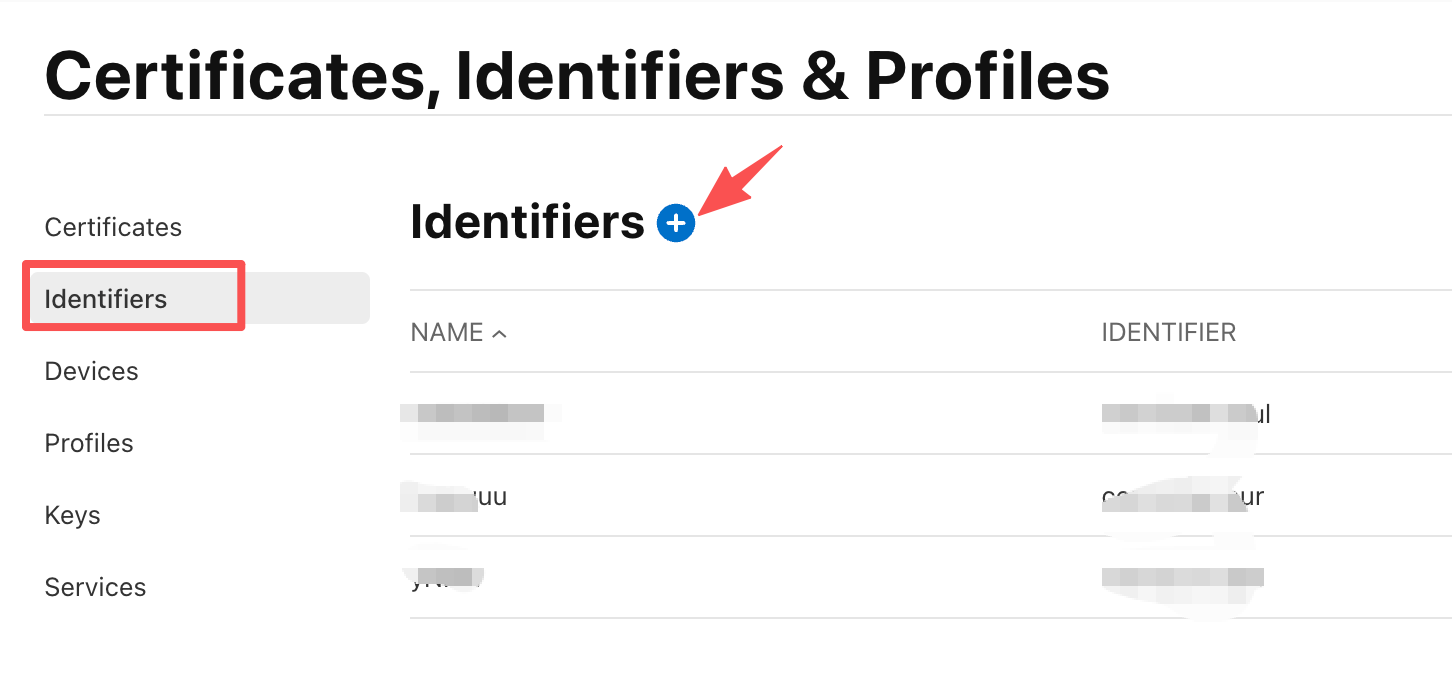
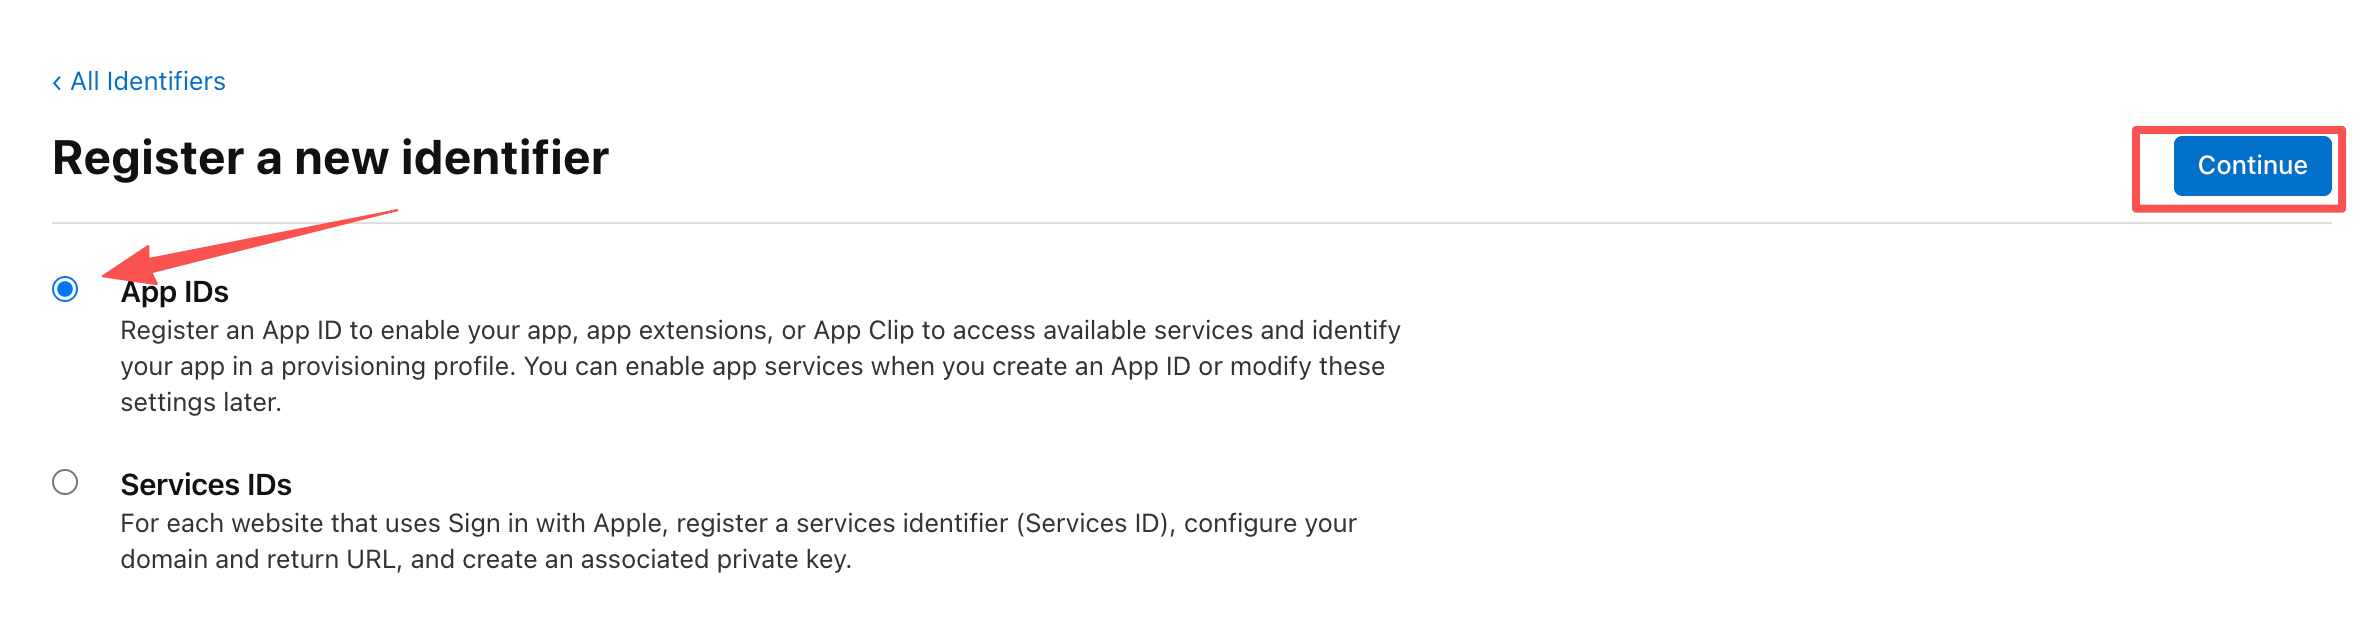
Choose App IDs, then continue:
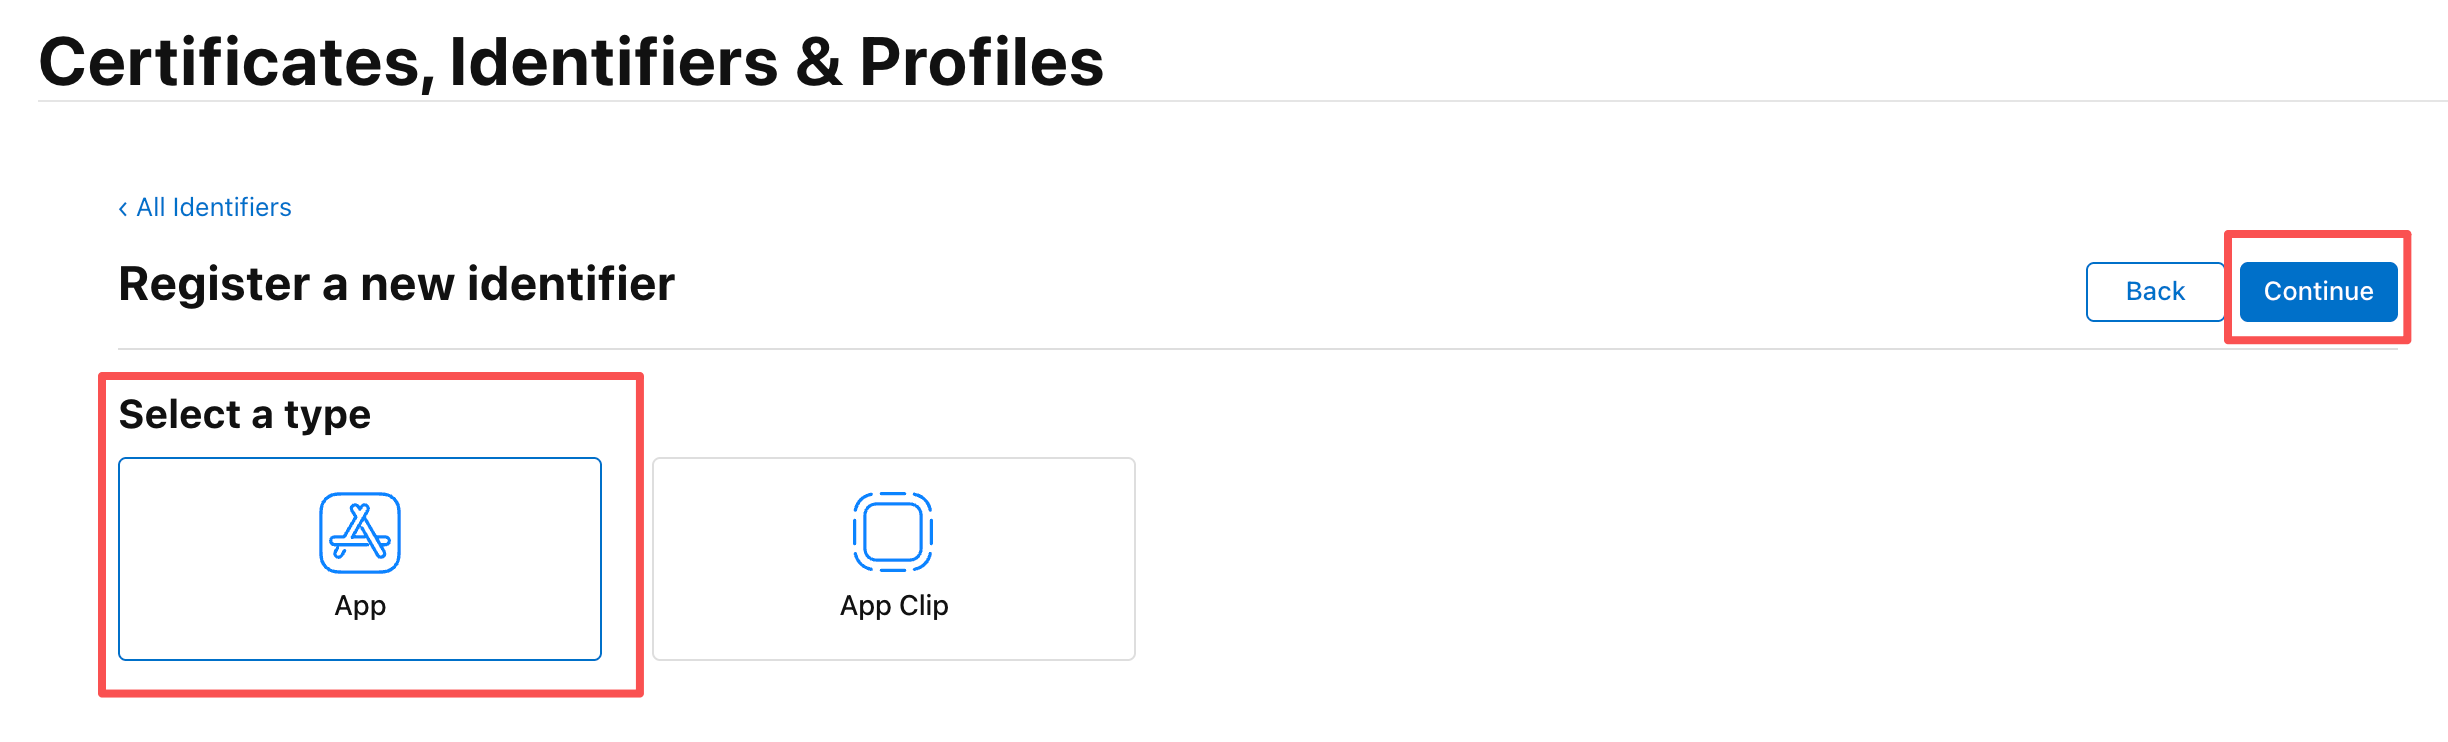
Select App:
Enter a description and a bundle ID, usually in a format such as com.company.app:
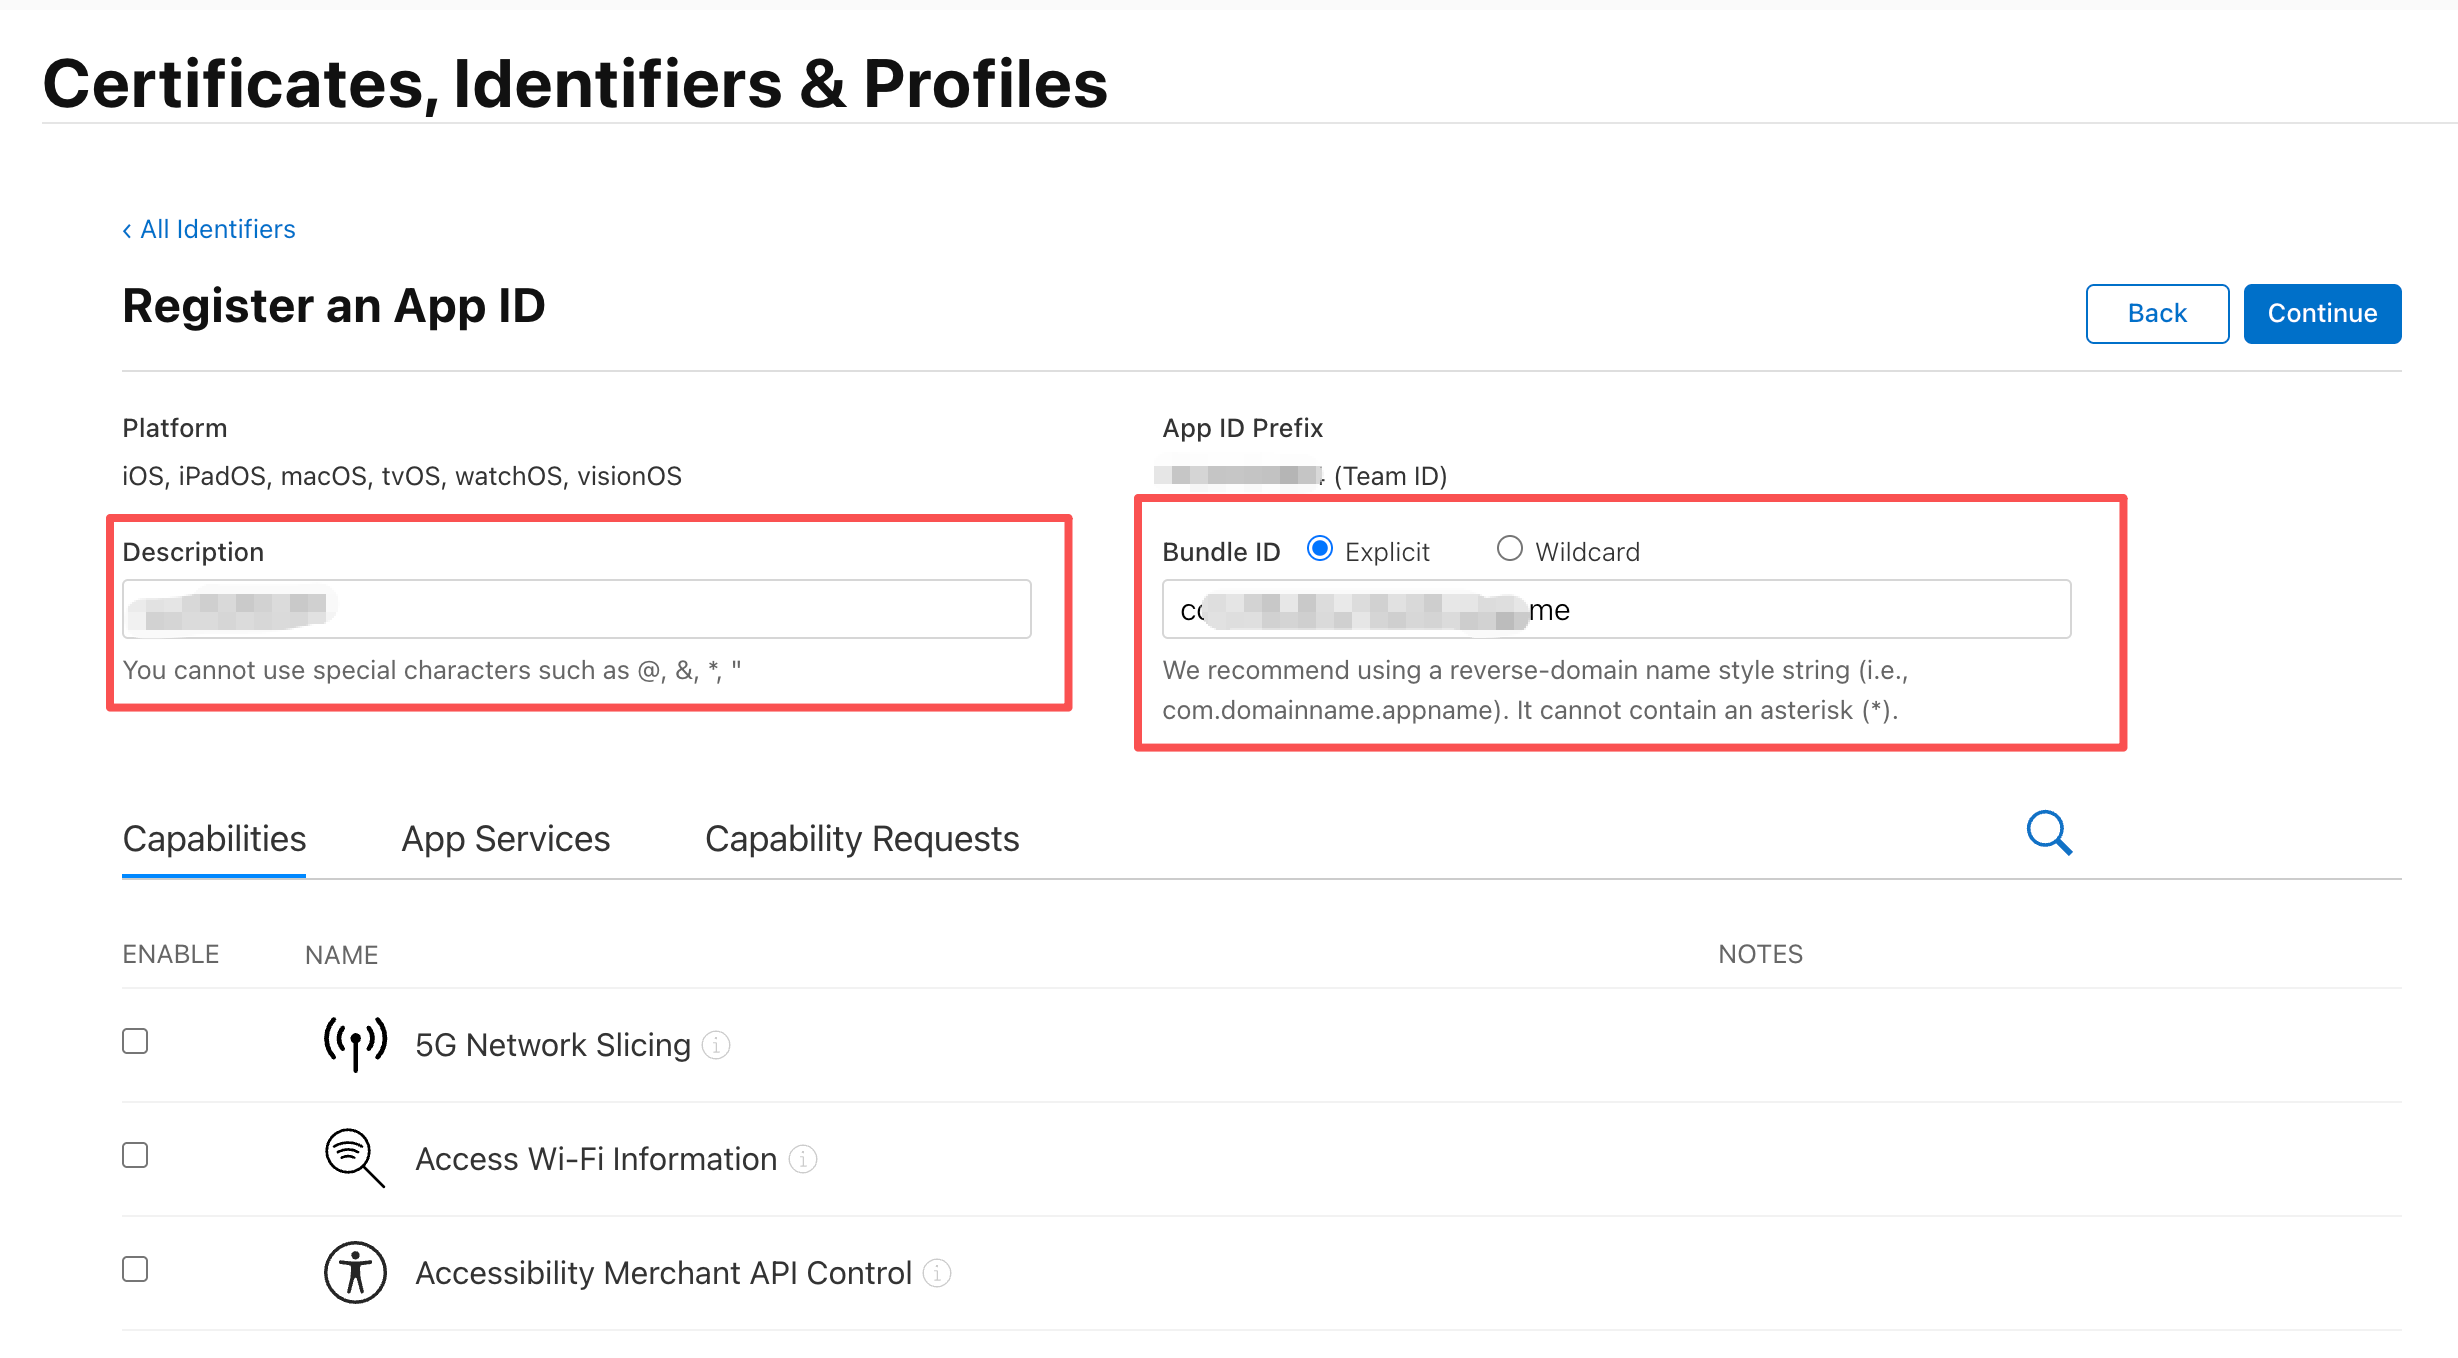
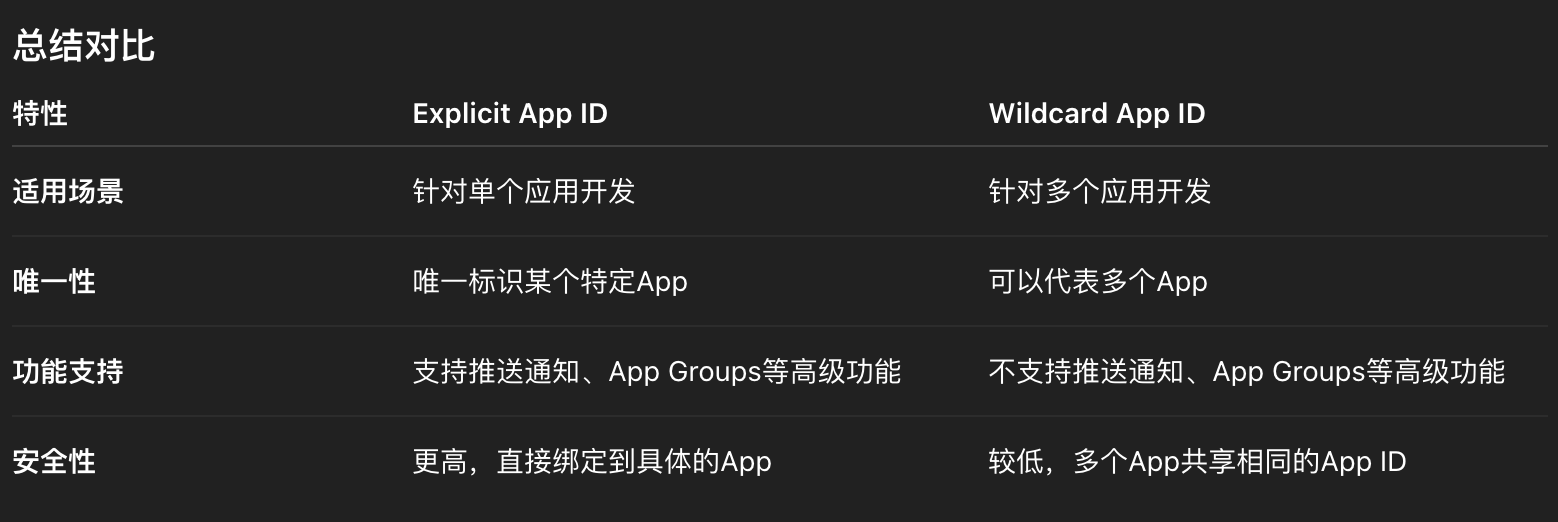
You must also choose between an explicit and wildcard App ID:
- Explicit App ID: identifies one specific app, such as
com.company.app. It supports capabilities such as Push Notifications and App Groups, avoids conflicts with other apps, and is the normal choice for a production app. - Wildcard App ID: uses
*to cover several apps, such ascom.company.*. It can be convenient for temporary or similar apps, but it does not support every capability and is less isolated.
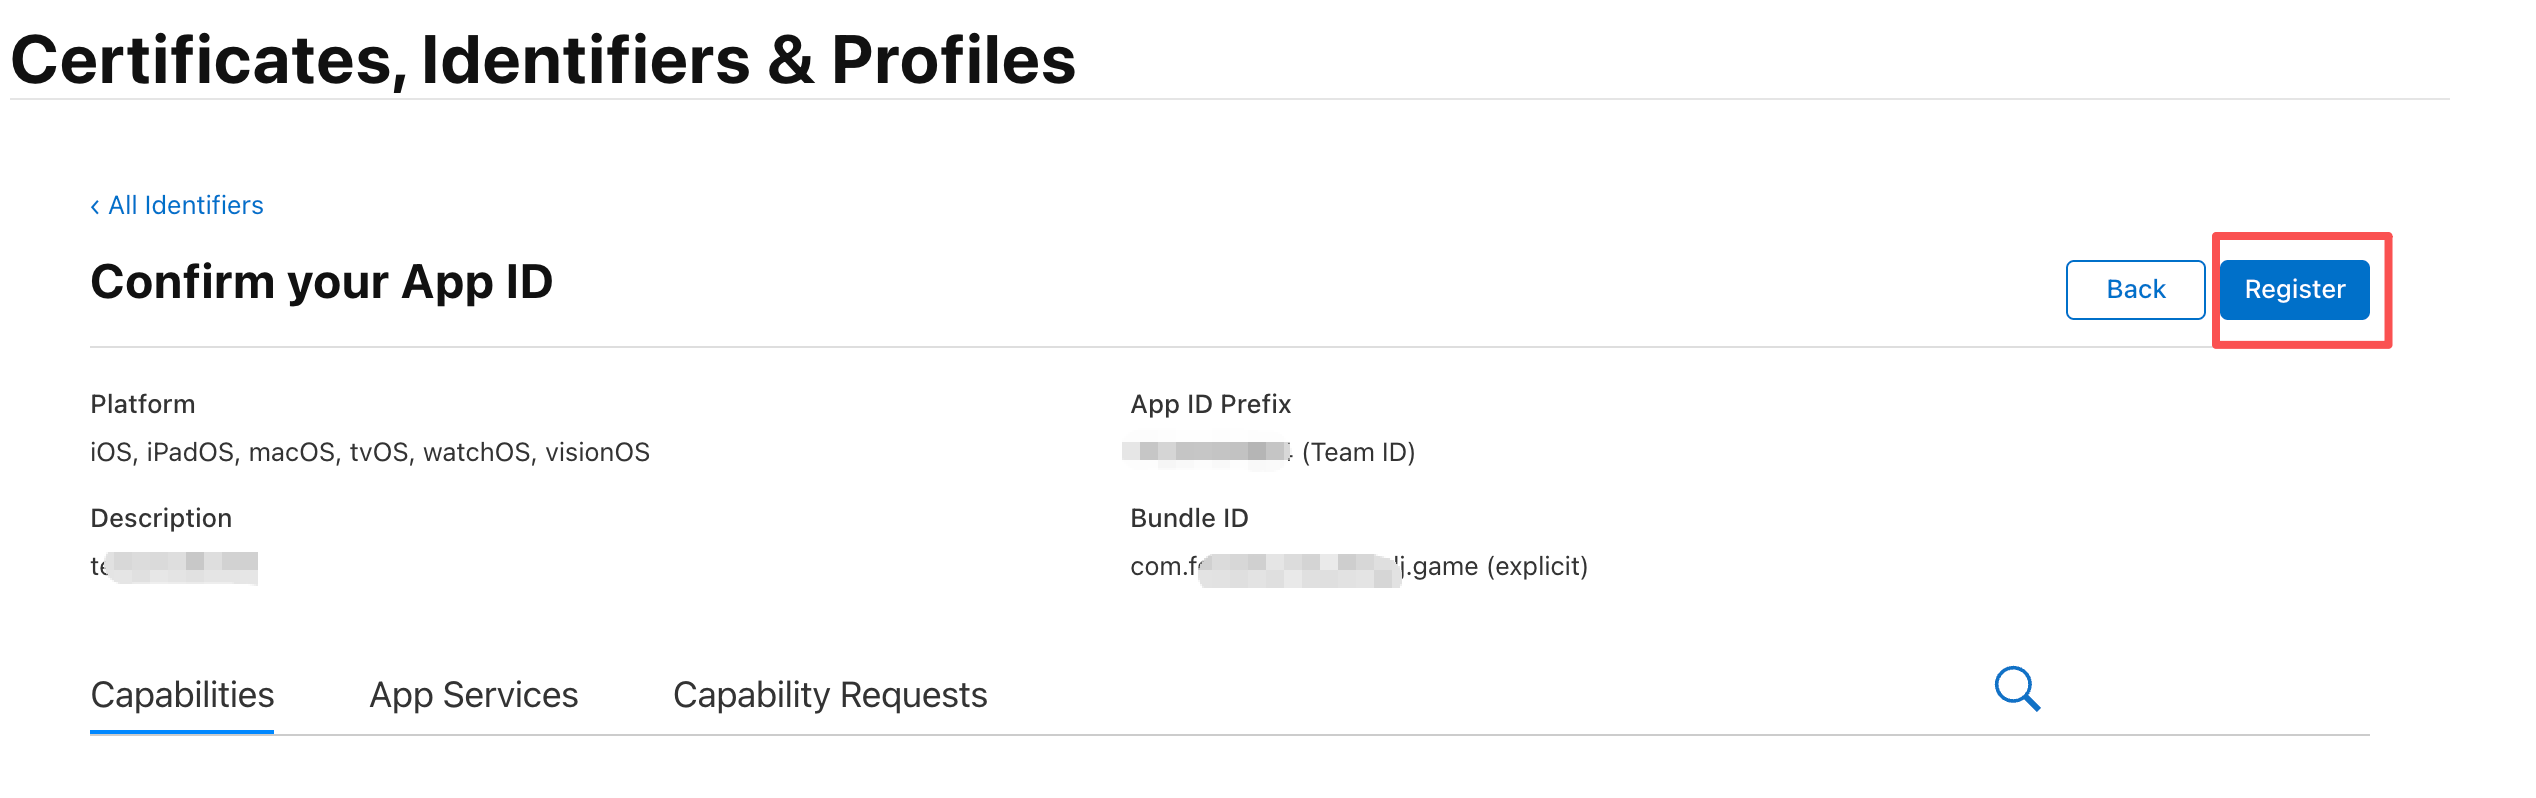
Confirm the information and click Register. The new identifier will appear in the Identifiers list:
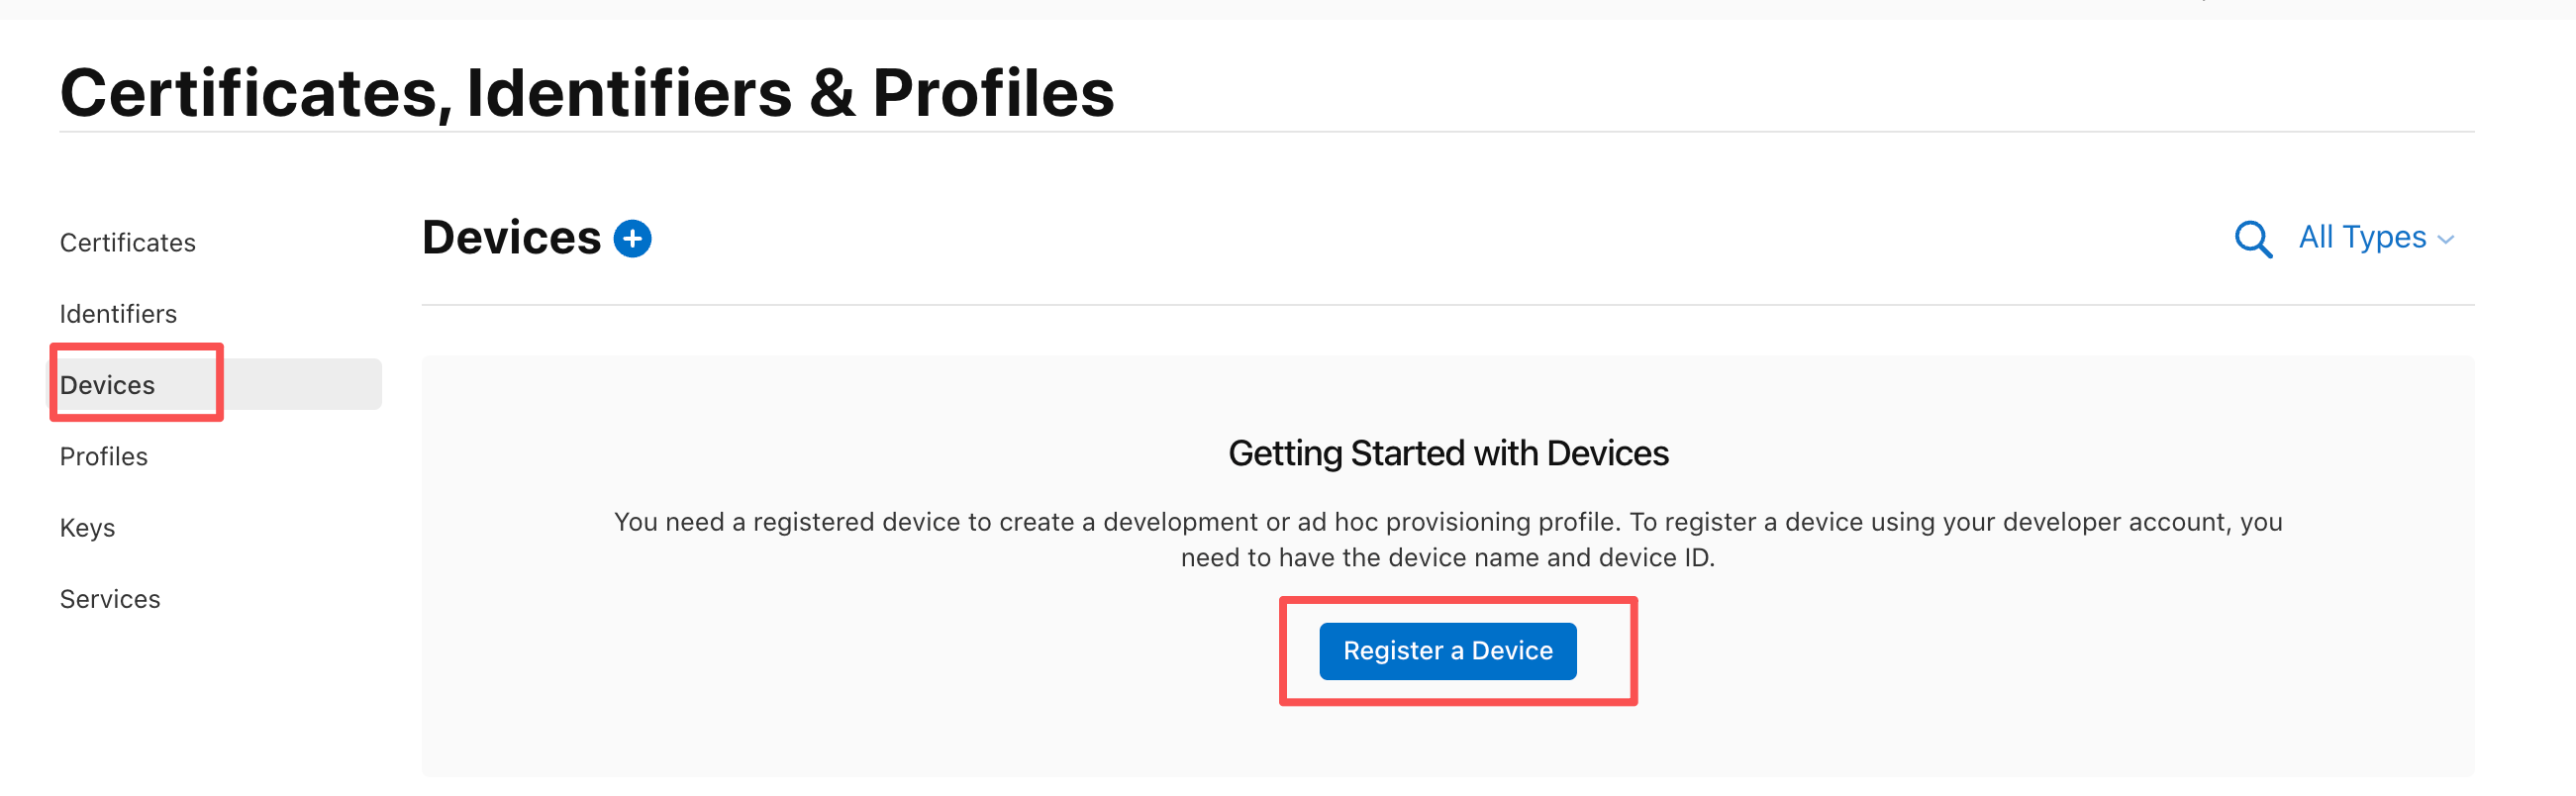
Register a test device
Add a new device:
Verify the information and click Register:
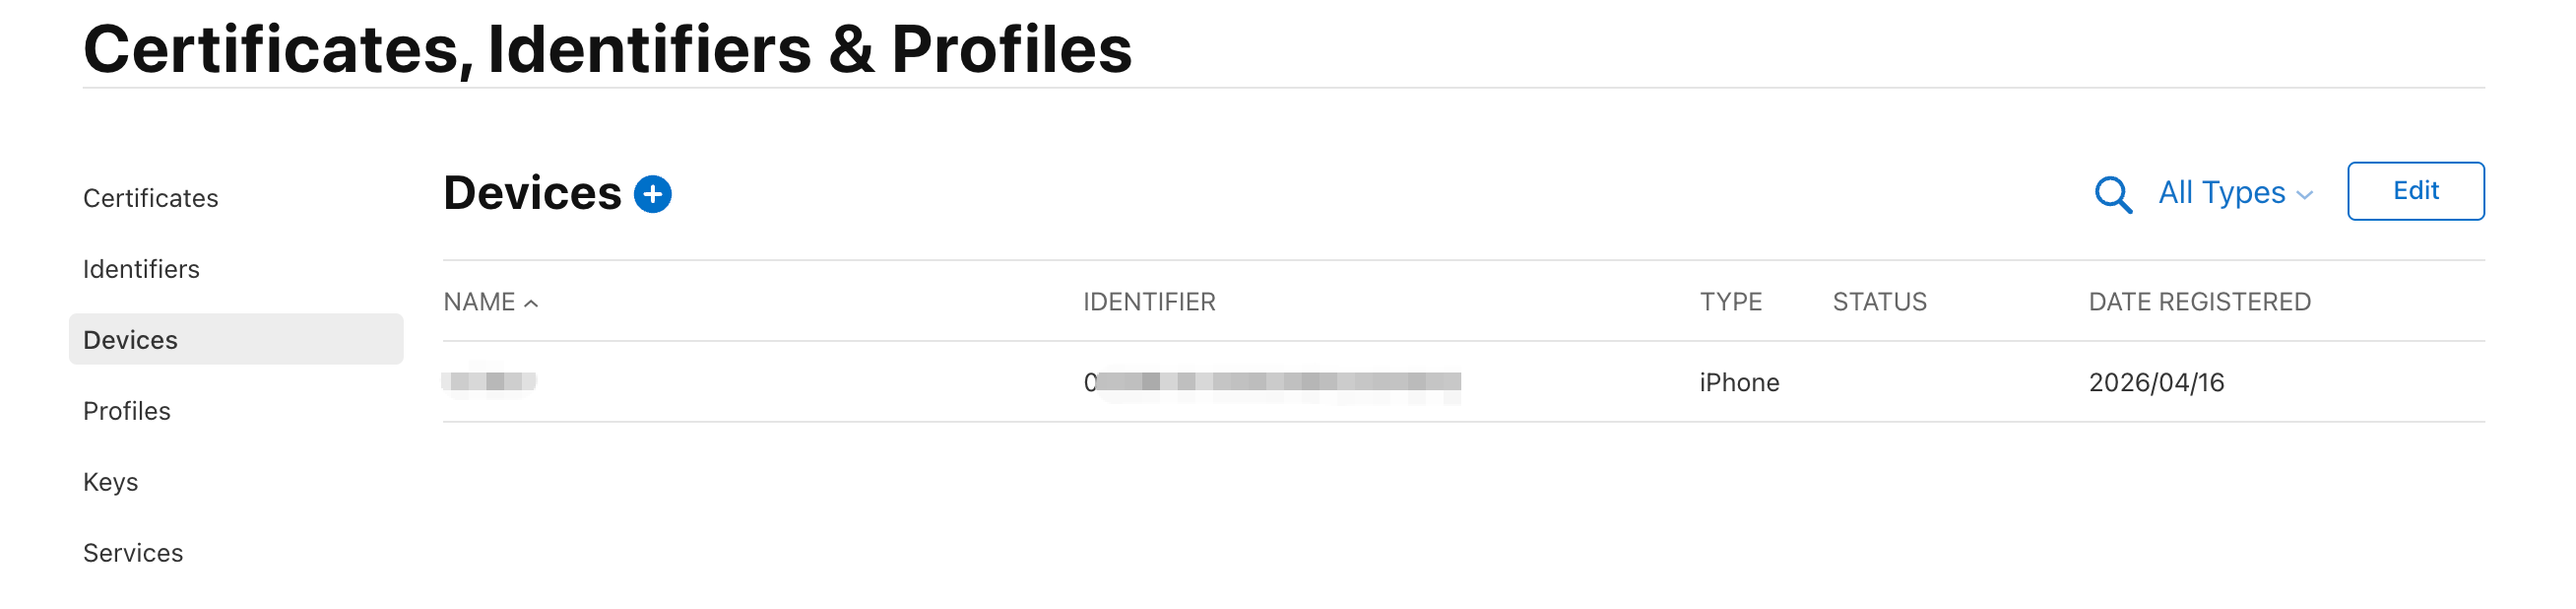
The device now appears in the Devices list.
Create a provisioning profile
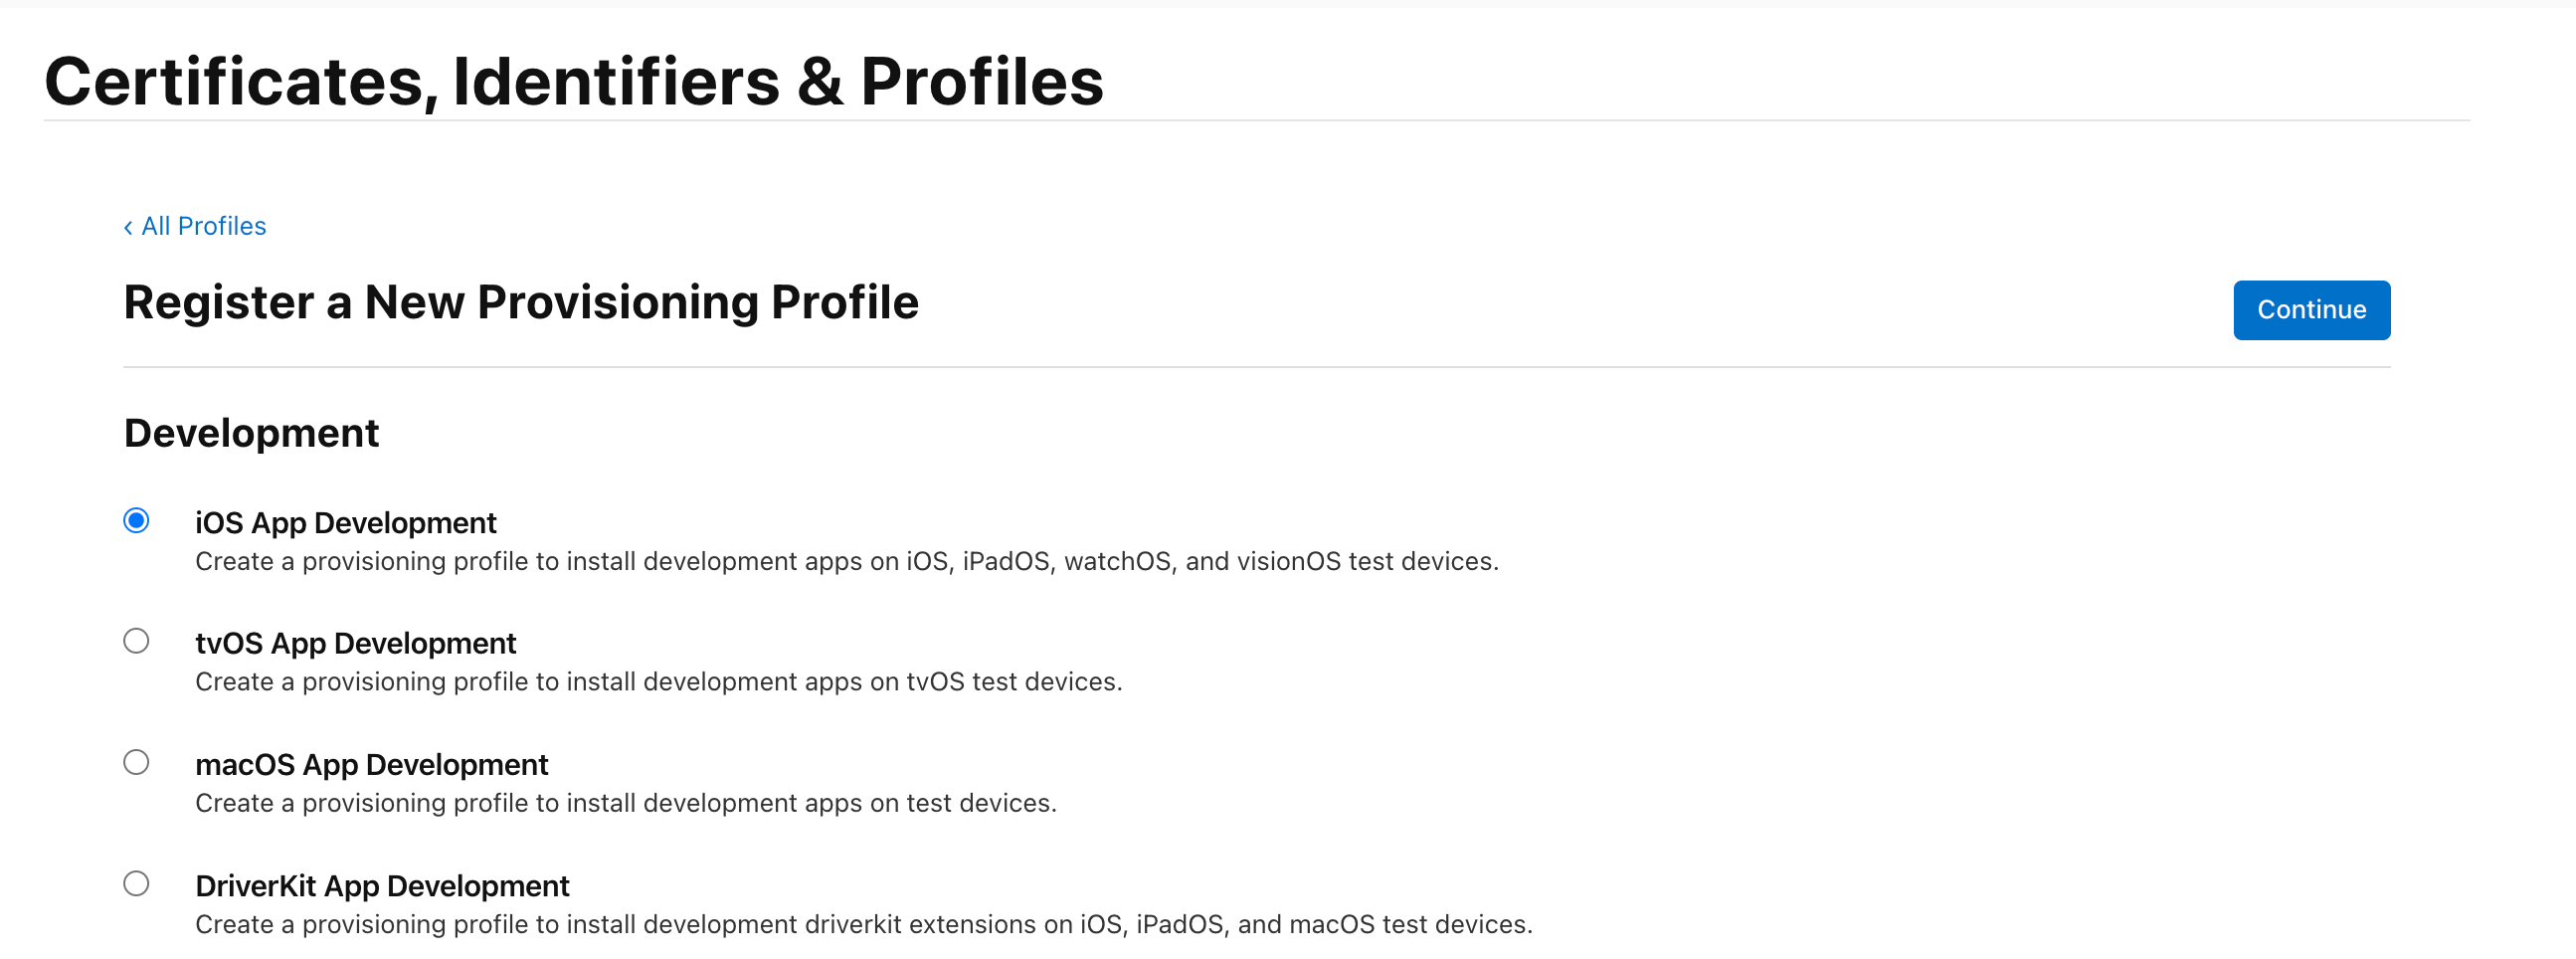
Create a new profile:
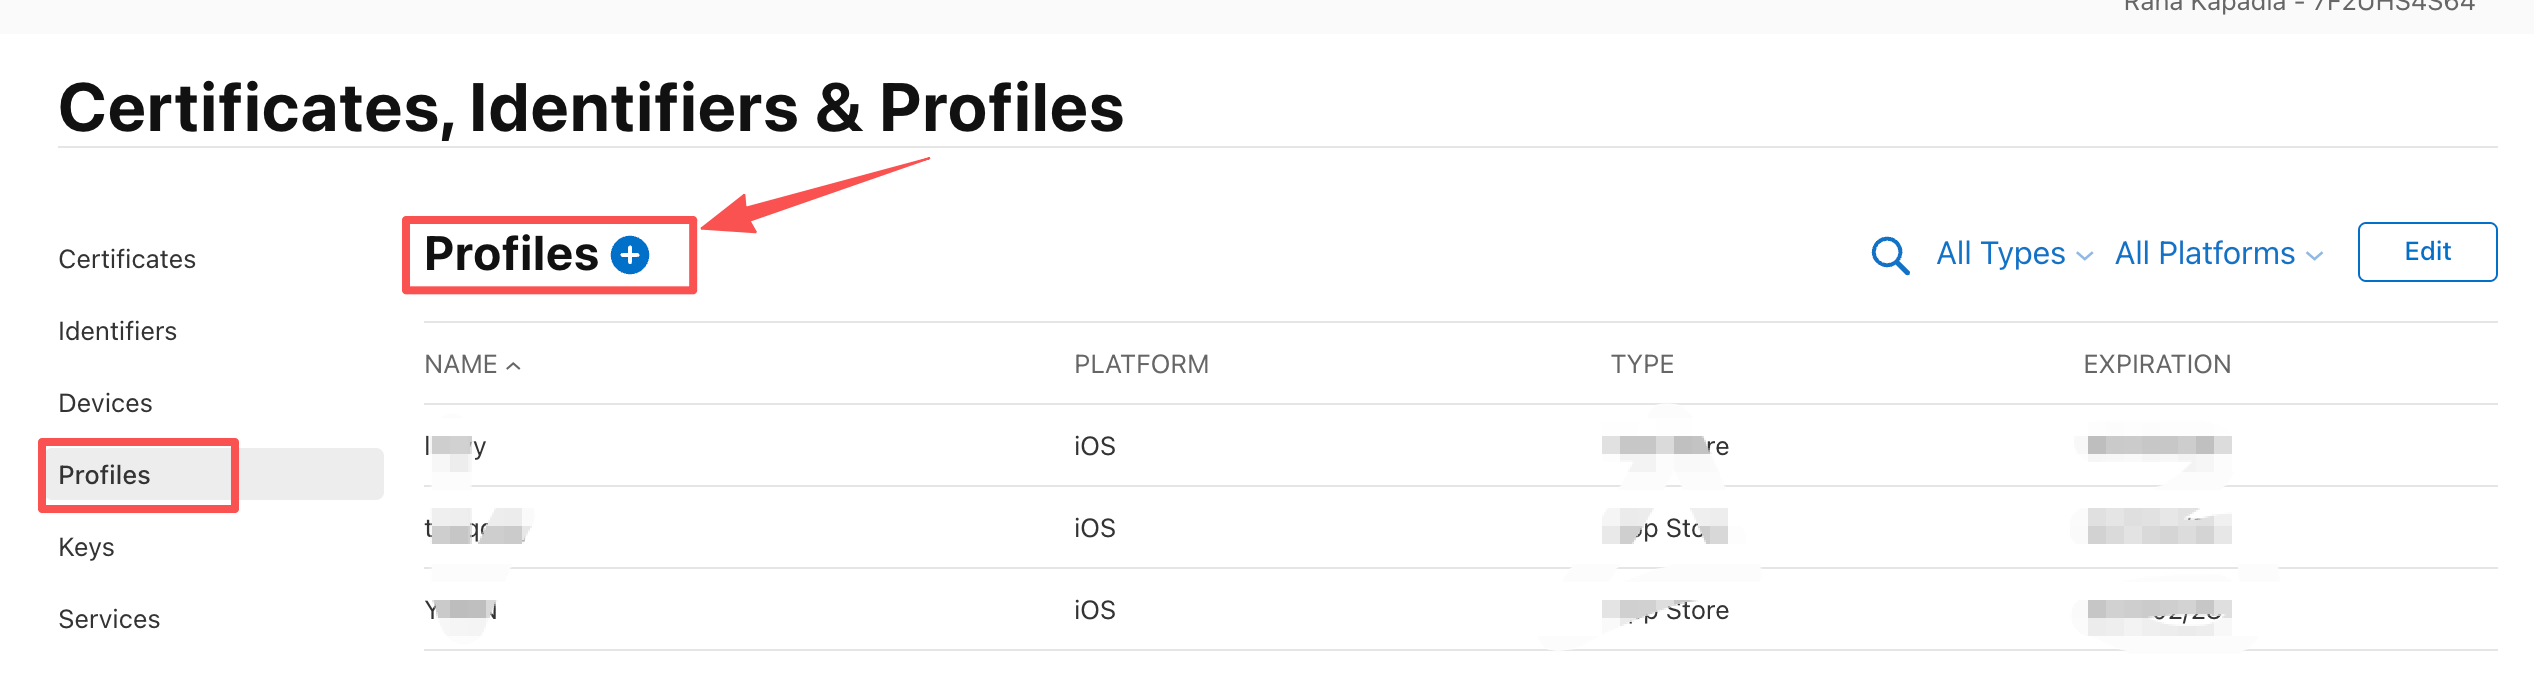
Choose the profile type appropriate for your project:
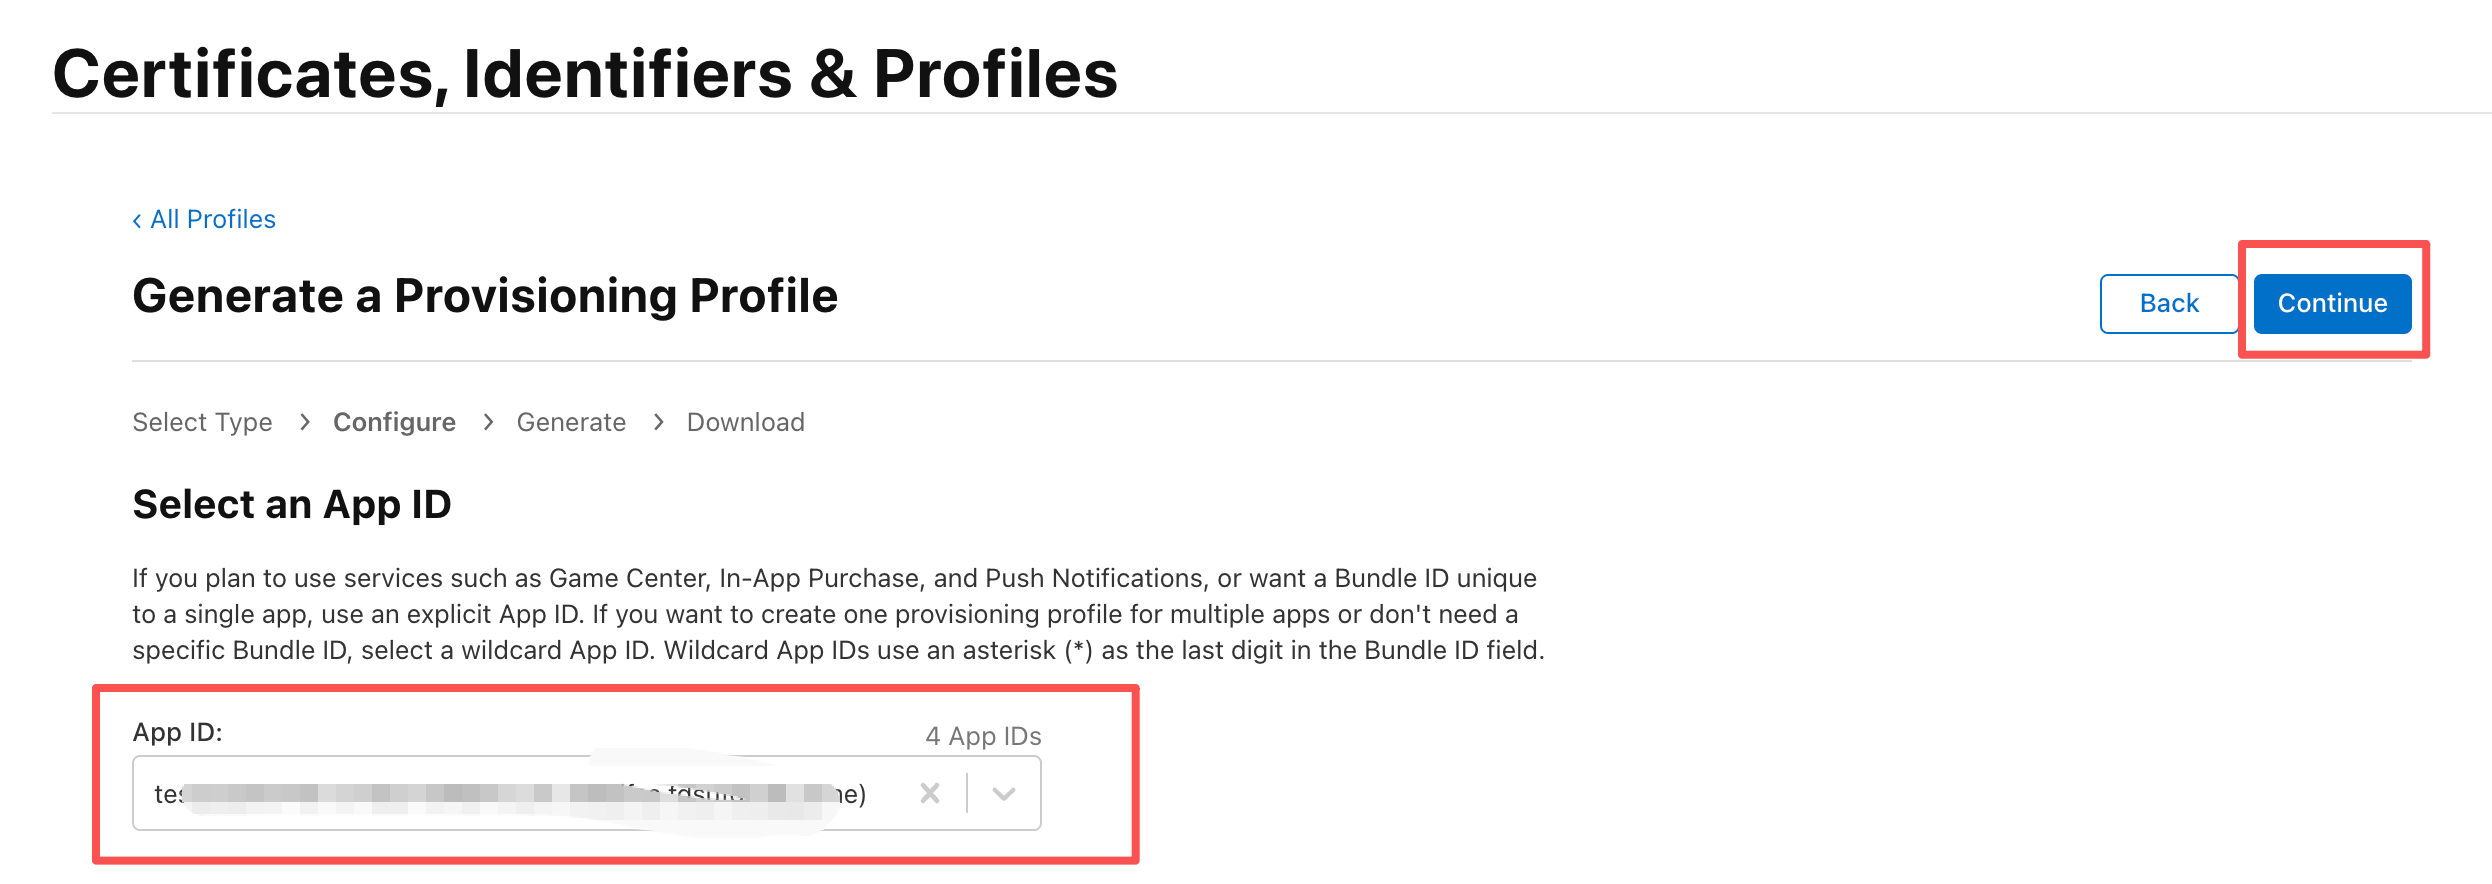
Select the App ID created earlier:
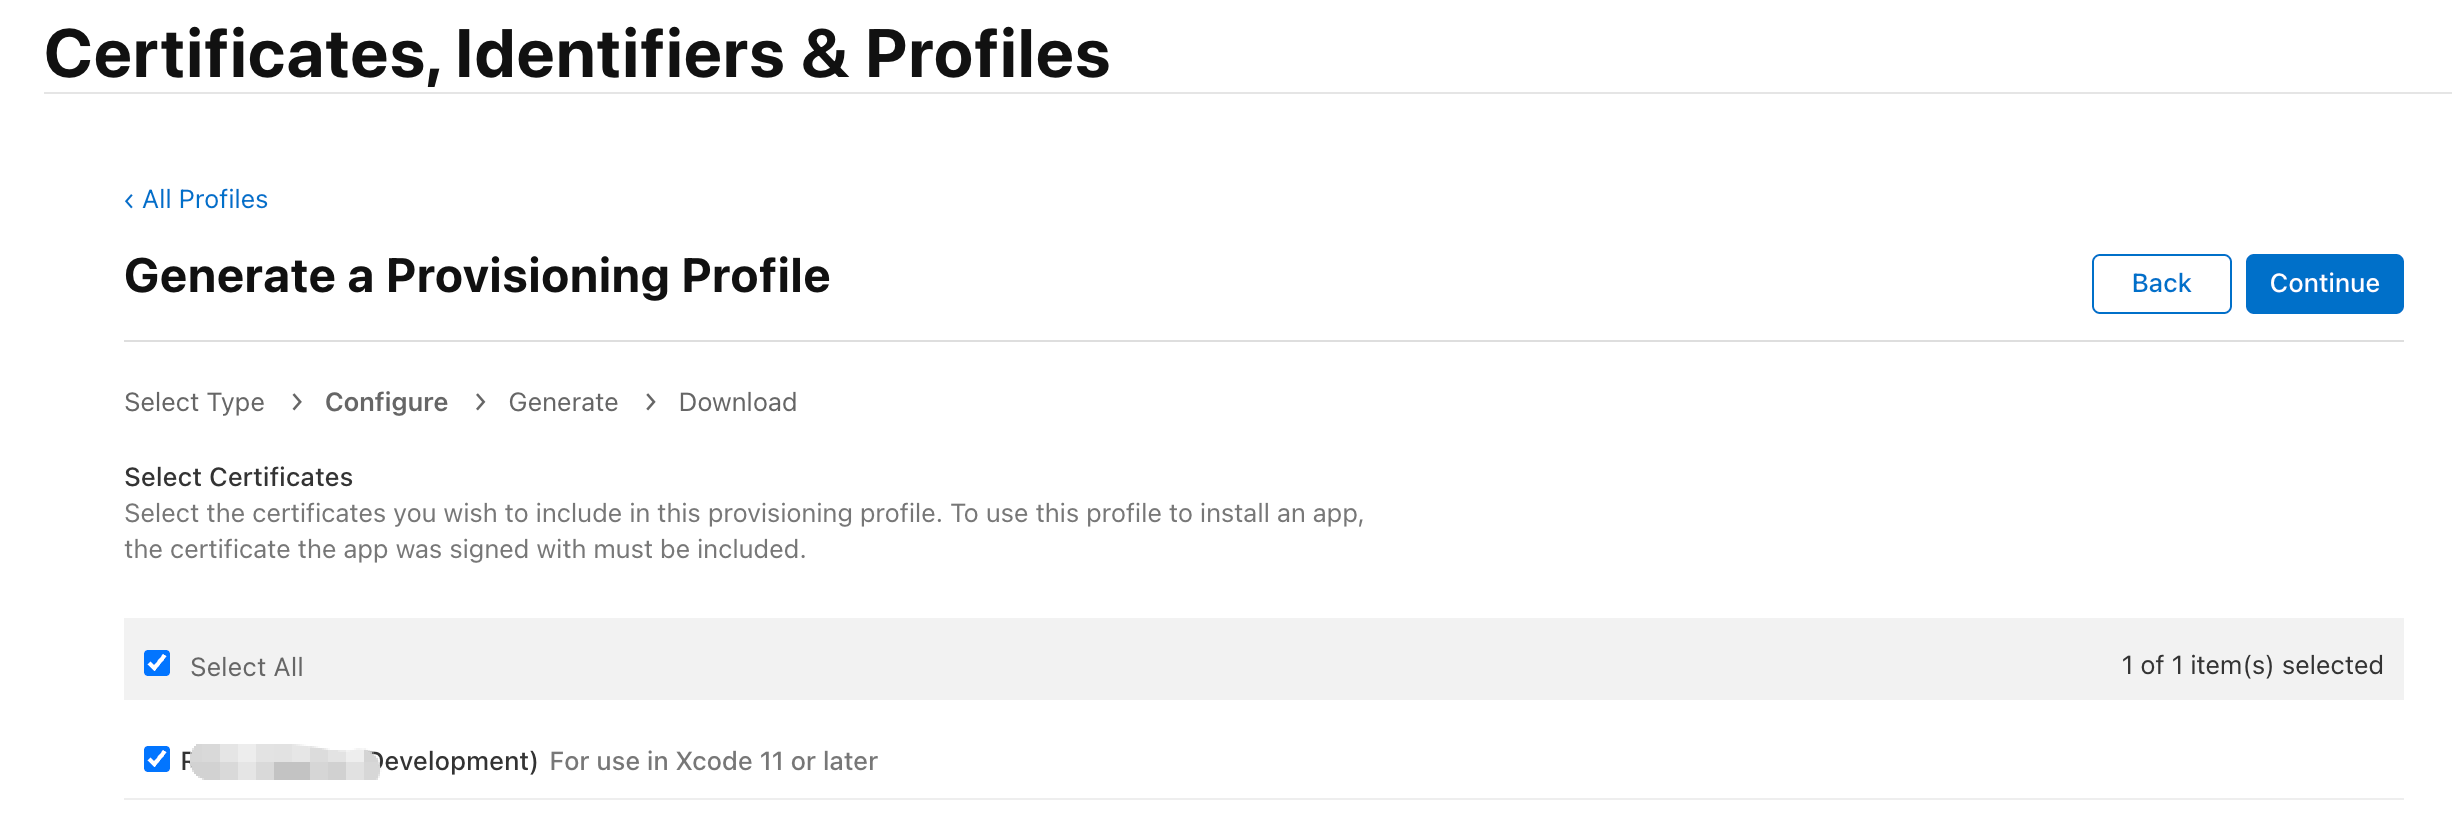
Select the development certificate:
Select the registered test device and enter a name for the profile:
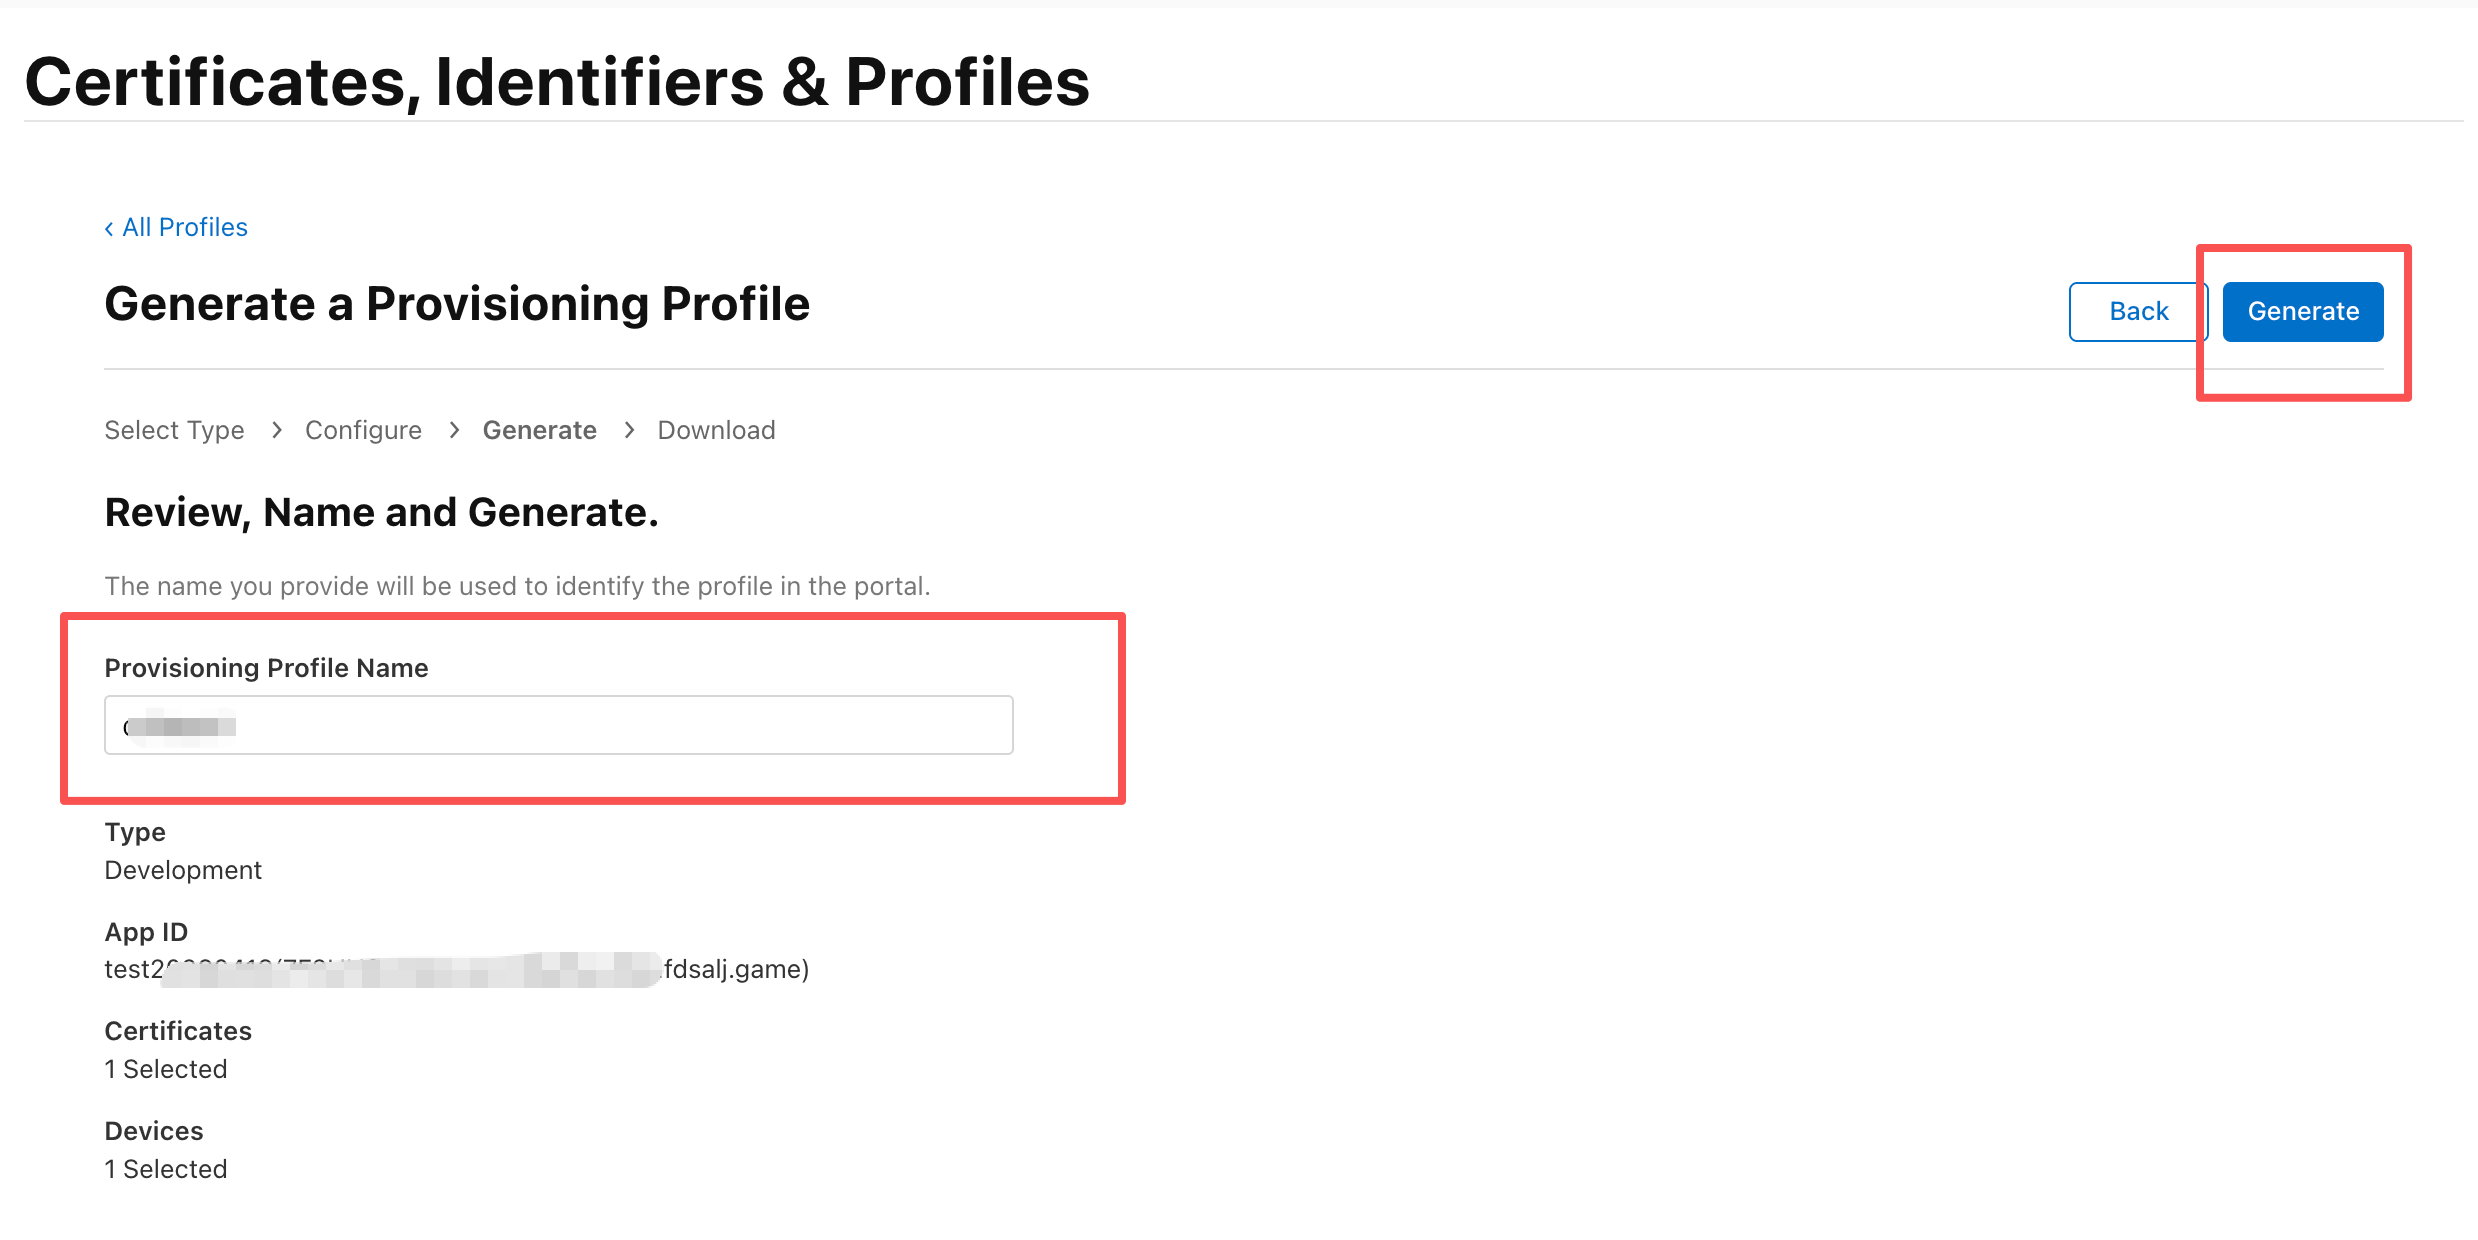
Confirm the information and download the resulting .mobileprovision file: