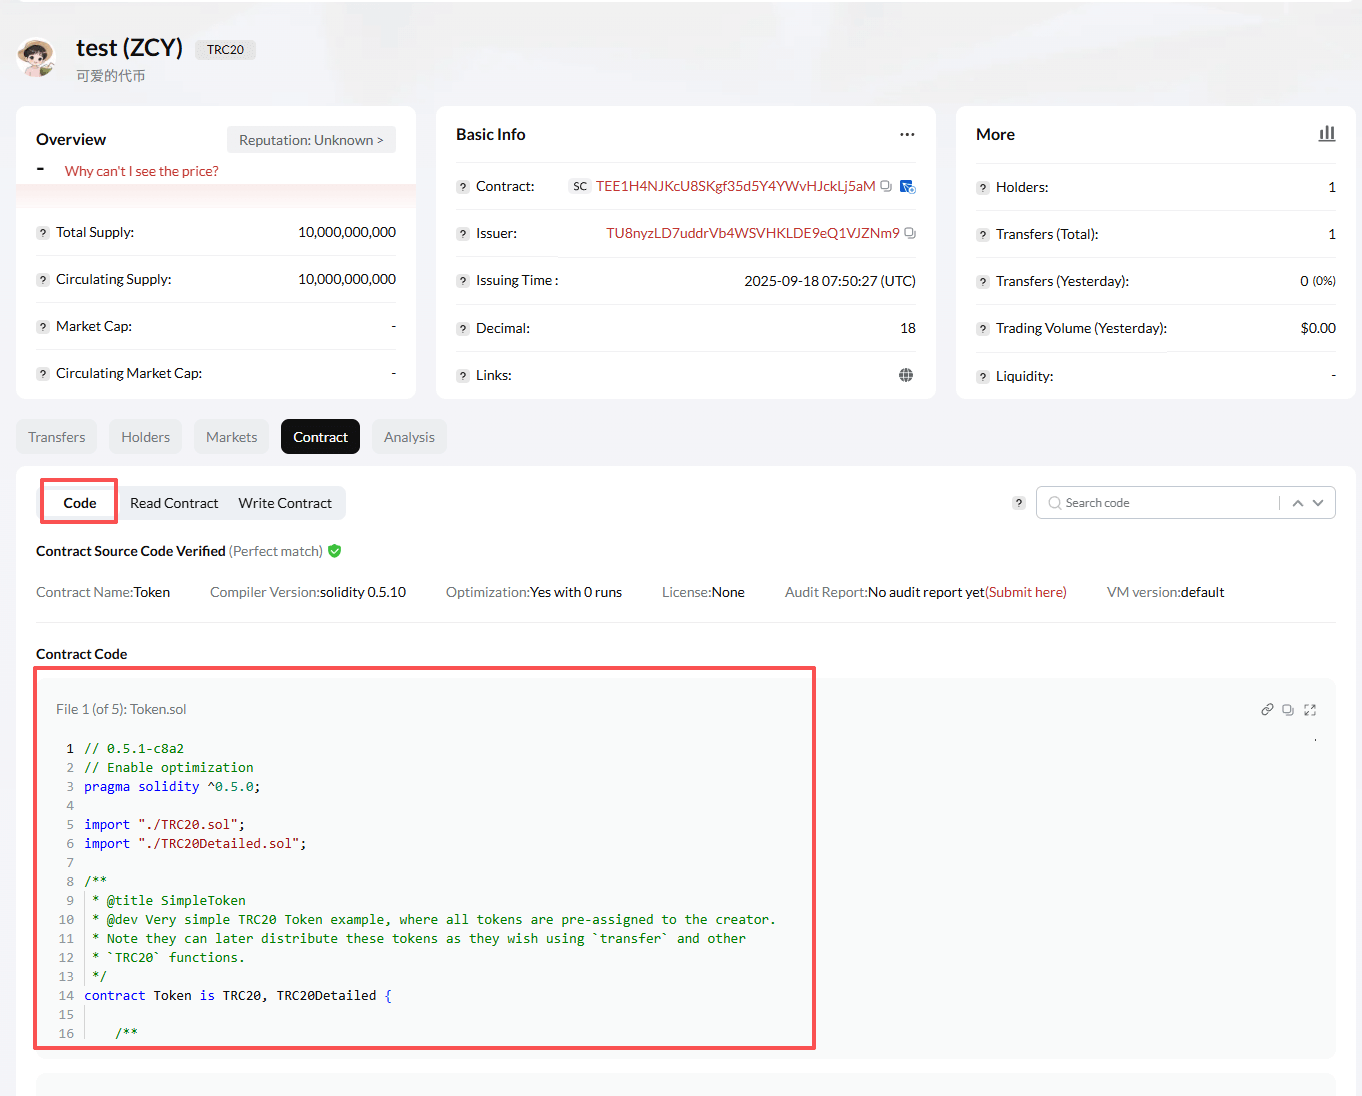
This guide demonstrates how to deploy a TRC-20 token contract on the TRON Nile testnet. Use test funds only and verify every wallet request before signing.
Prerequisites
- A TRON wallet.
- The TronLink browser extension.
- Access to TRONSCAN and its Nile testnet pages.
Obtain test TRX
Copy your wallet address from TronLink. Open the Nile test-coin faucet, enter the address under Get 2000 test coins, and click Obtain.
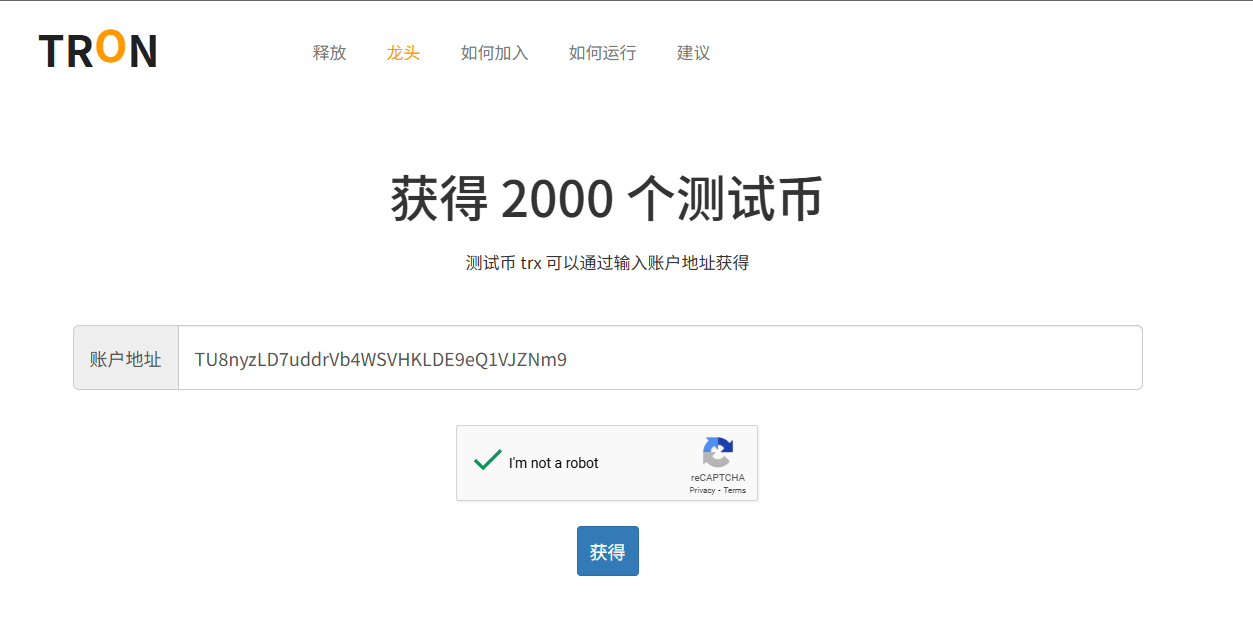
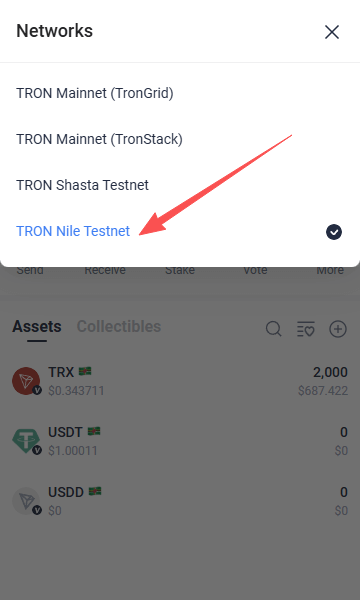
A Successful message indicates that the request completed. Each address can request the funds only once. In TronLink, change the active network to TRON Nile Testnet; test coins are not visible on mainnet.
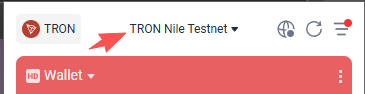
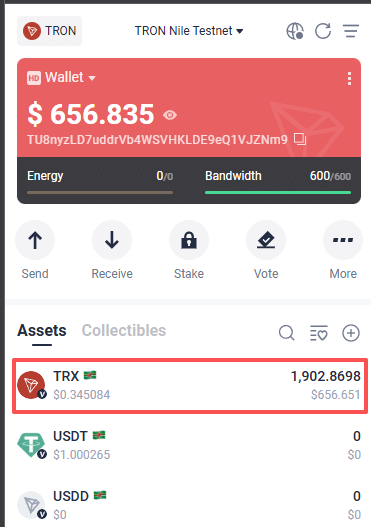
Confirm that the balance arrived:
Prepare the TRC-20 contract
Download the five contract files from the example repository. In Token.sol, change the token name, symbol, decimals, and supply as needed. Avoid changing the decimals unless you understand the consequences.
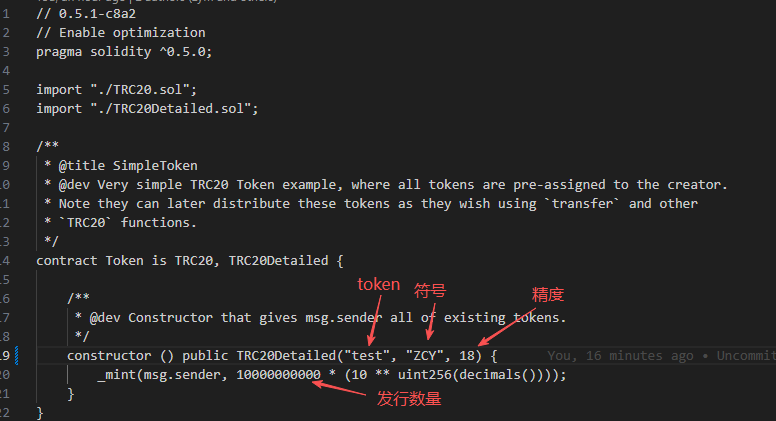
Keep the file structure and Solidity syntax intact or compilation will fail.
Compile and deploy
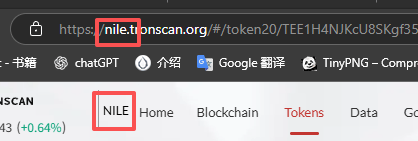
All operations below must use the Nile testnet. Confirm that TRONSCAN URLs begin with nile.:
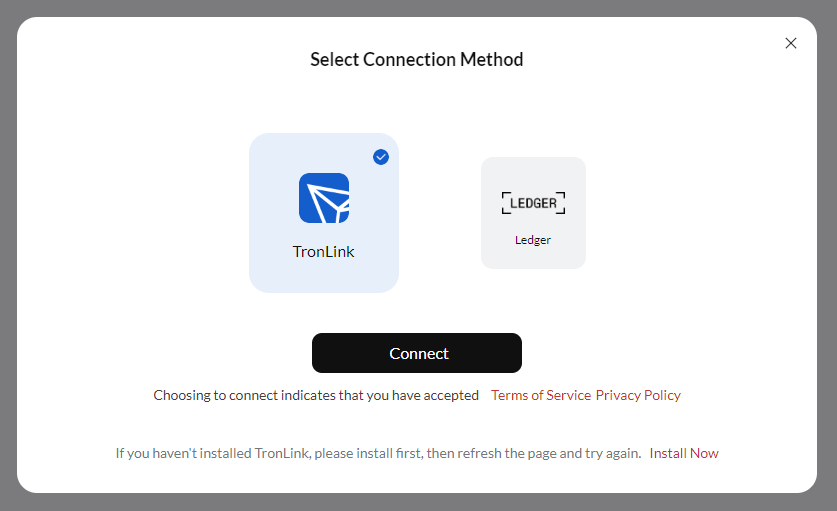
Click Connect Wallet and select TronLink:
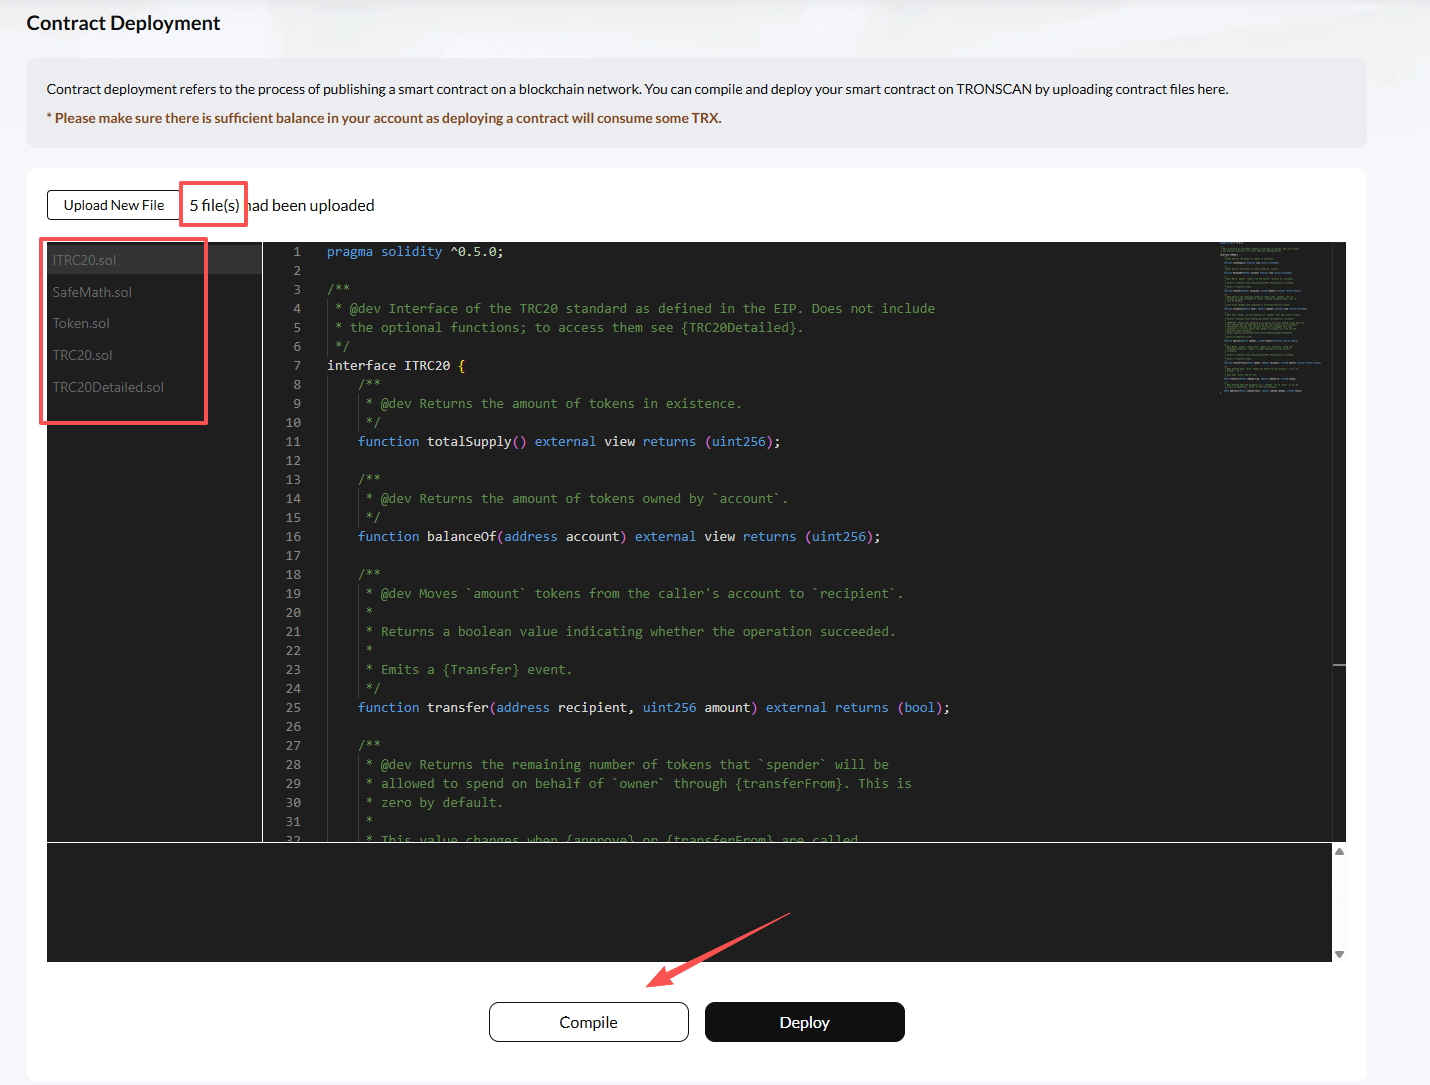
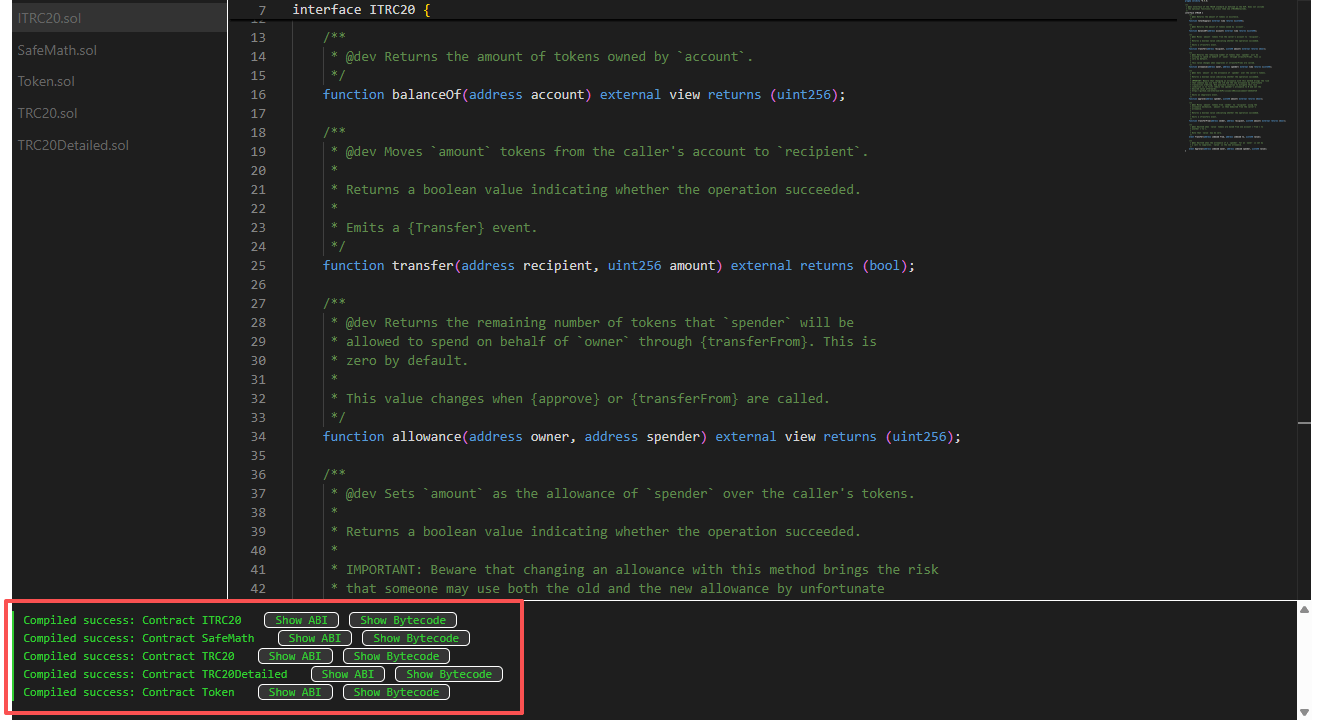
Open the Nile contract compiler. Click Upload Contract File, upload all five files, verify the list, and click Compile.
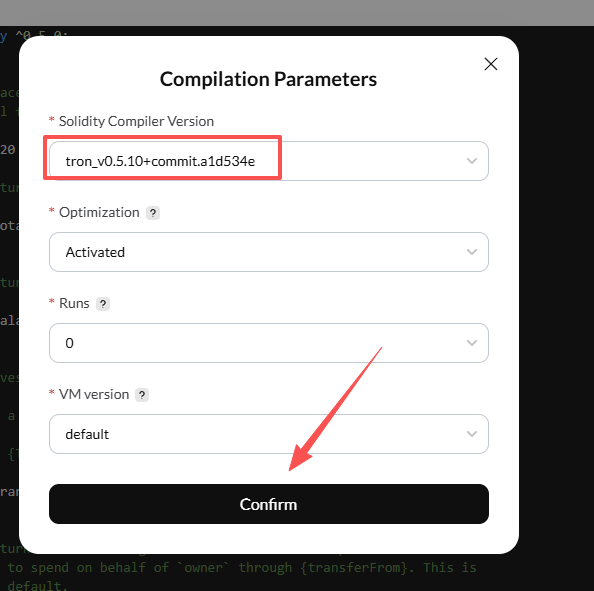
Choose Solidity compiler v0.5.10+, leave the other options unchanged, and compile:
The following state indicates a successful build:
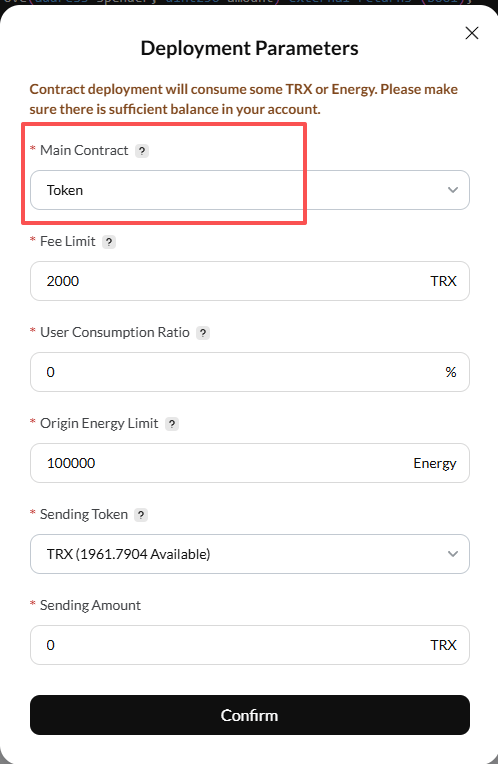
Select Deploy. Change Main Contract to Token, keep the other defaults, and click Confirm:
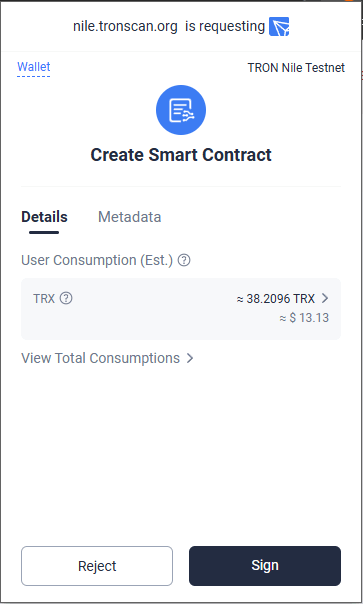
Before signing, verify that the request comes from nile.tronscan.org, the correct wallet is selected, and TronLink is connected to Nile Testnet:
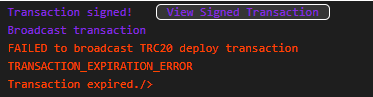
If a timeout error appears, repeat the signing flow:
Deployment normally takes one or two minutes. When it succeeds, record the resulting contract address:

Register the token on TRONSCAN
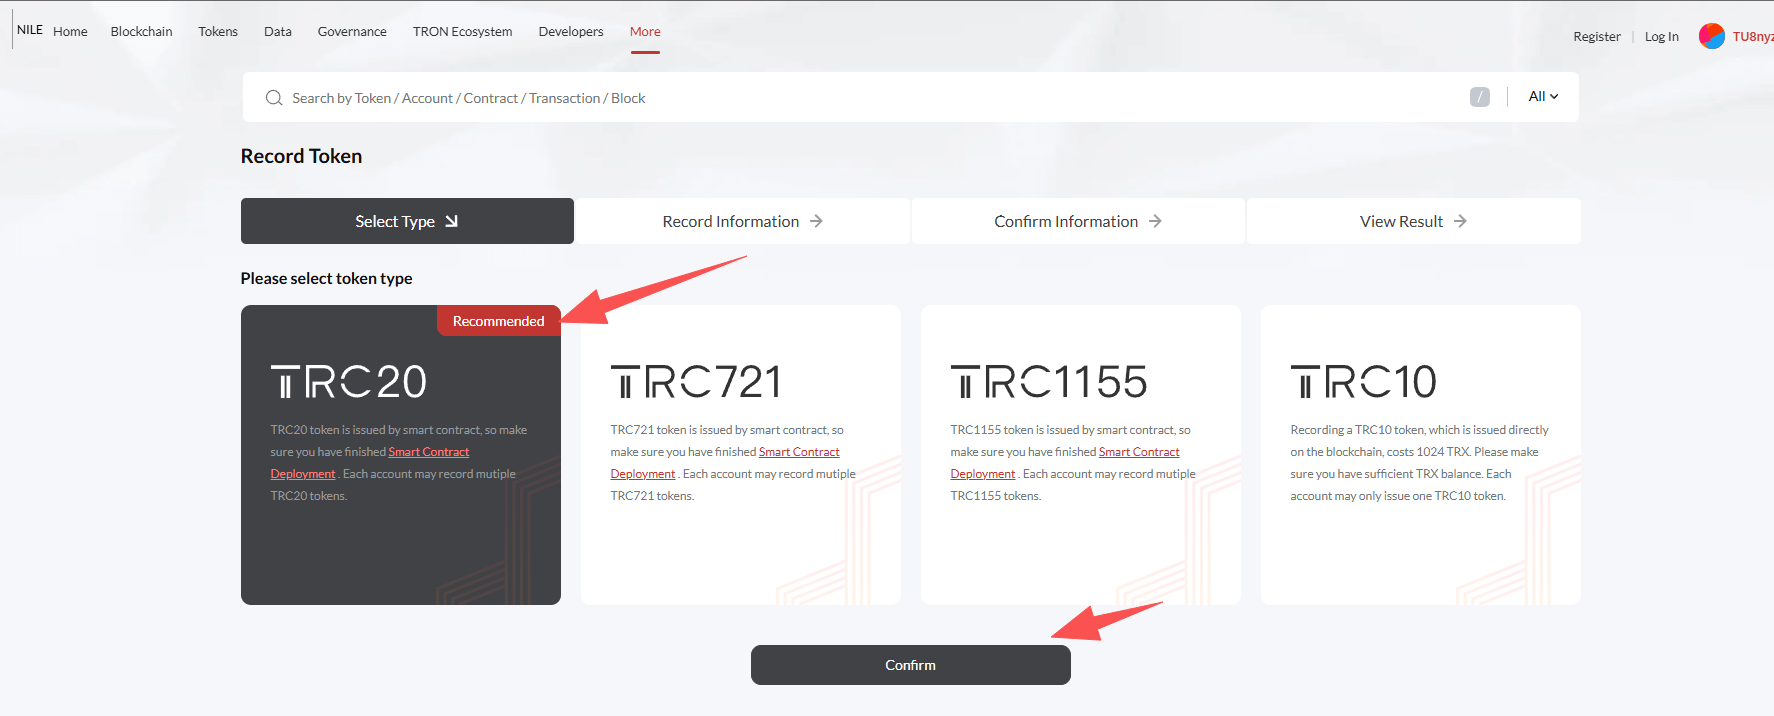
Open the token creation page, choose TRC20, and click Confirm:
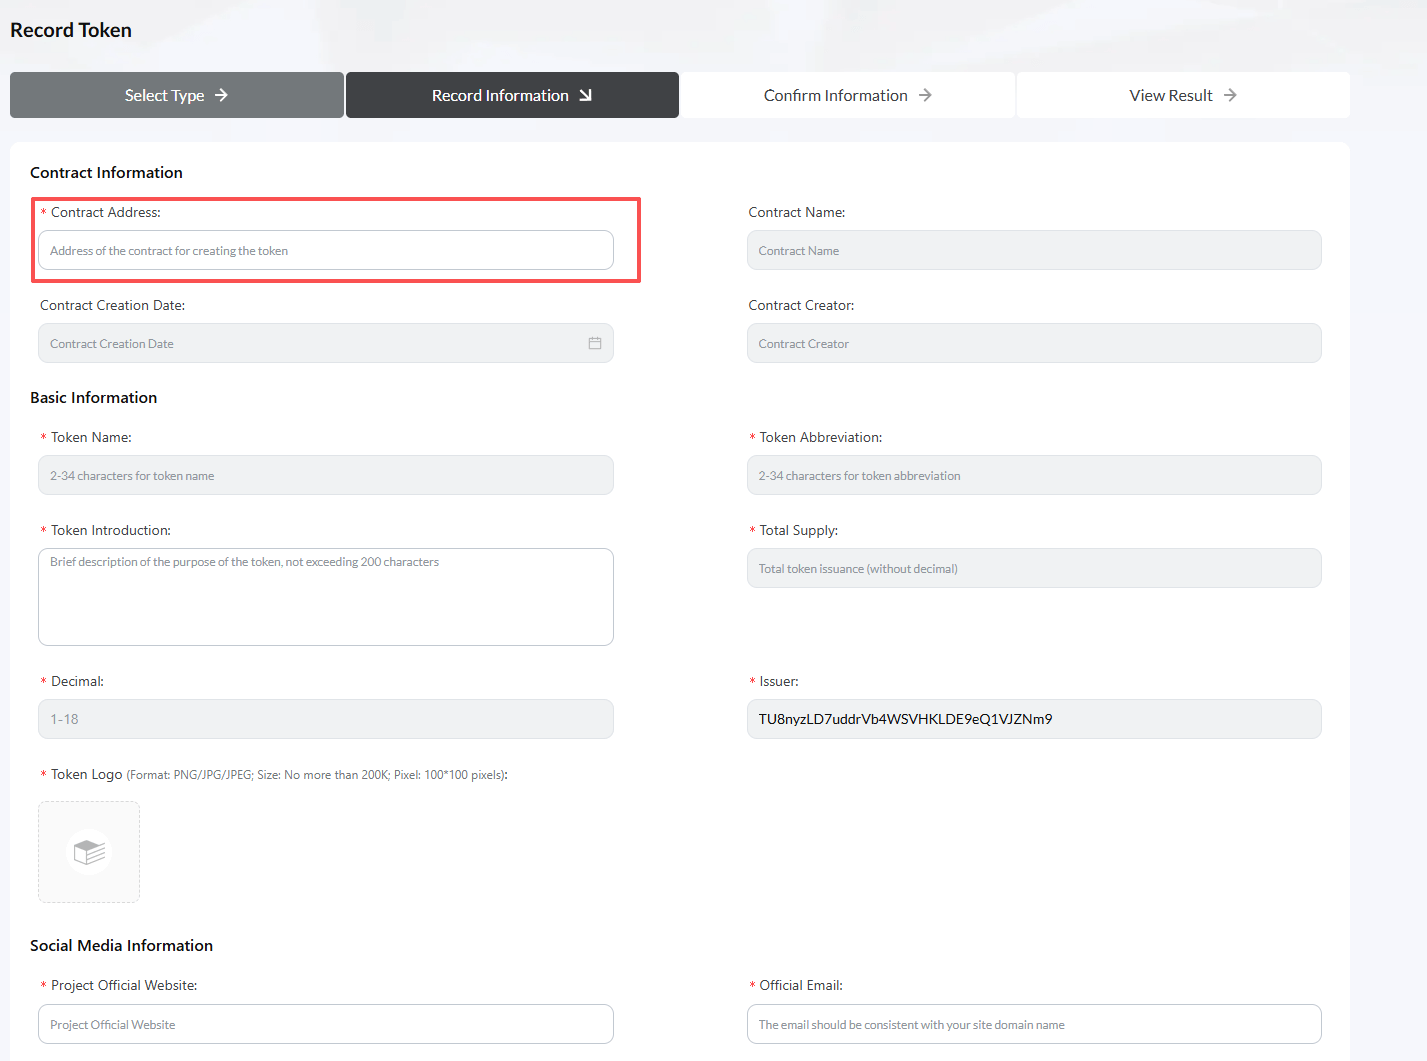
Enter the new contract address, description, website, and email. Complete all required fields and click Next:
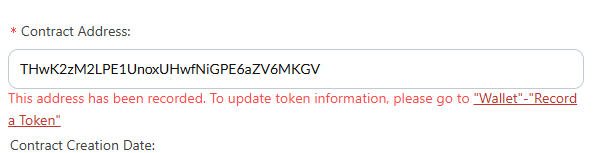
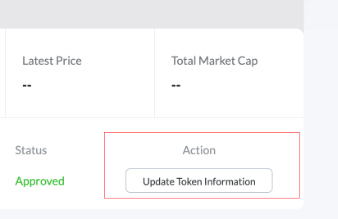
If TRONSCAN says This address has been recorded... even on the first attempt, follow the link in that notice and click Update Token Information:
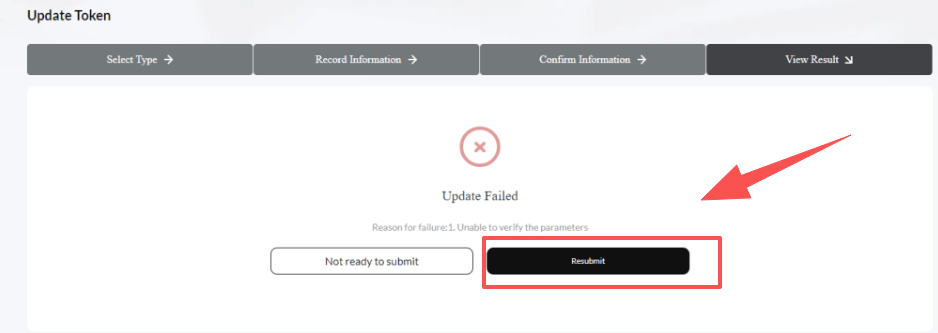
Review the details, select Submit, and approve the wallet signature. If registration fails, select Resubmit; adding a token icon before resubmitting may be required.
After approval, the token page looks like this:
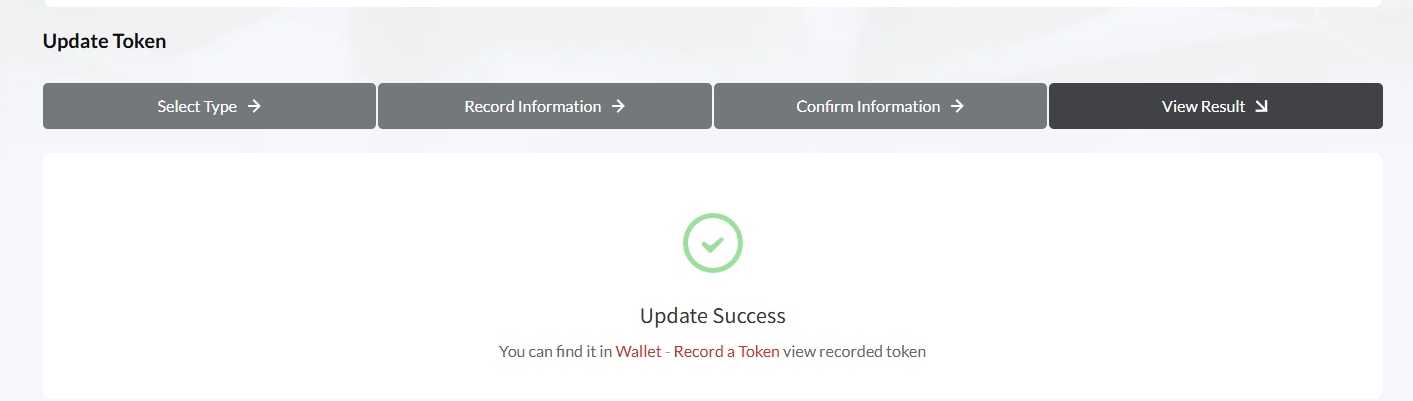
Use the example token page as a reference, replacing its final path component with your contract address.
Add the token to TronLink
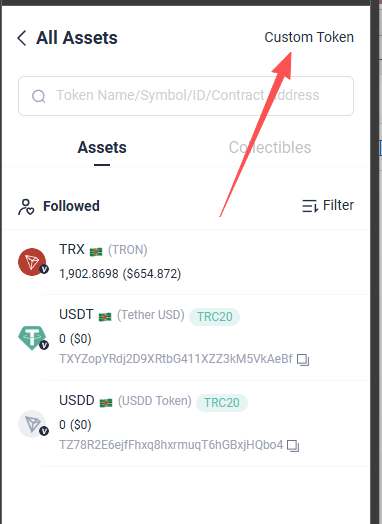
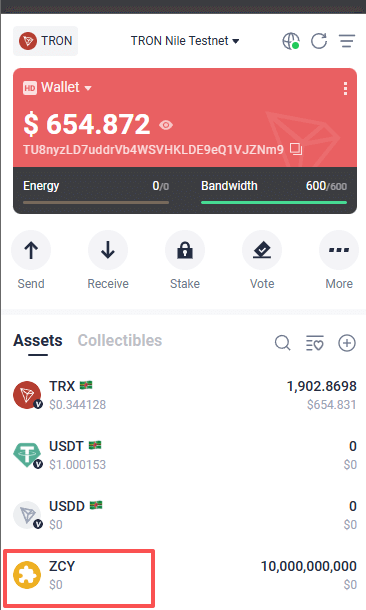
On the TronLink home page, click +, choose the custom-token option, and enter the contract address. TronLink should populate the remaining fields automatically. Confirm the details to add it.

Verify the contract
Open the Nile contract verification page, enter the deployment information, and upload the same five source files:
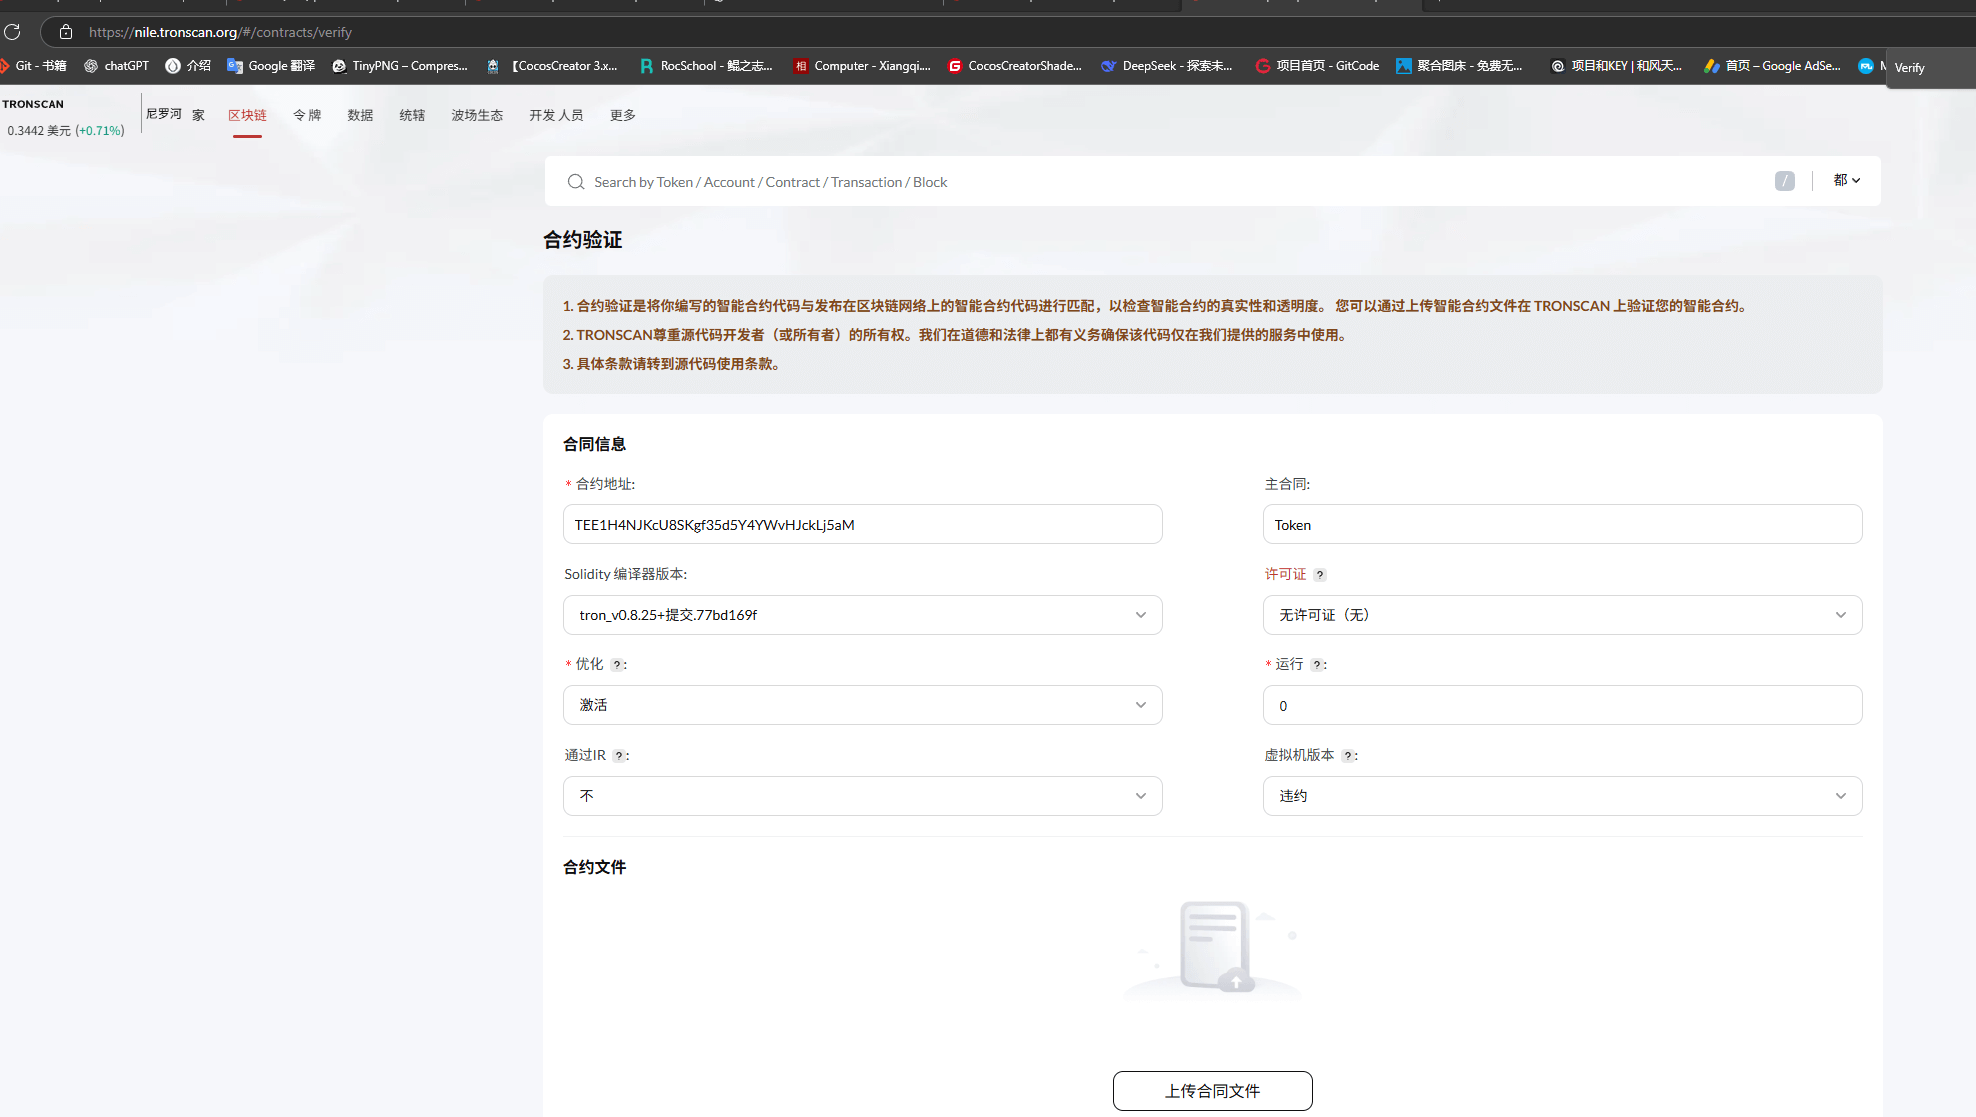
Click Verify And Publish. A successful verification produces this result:
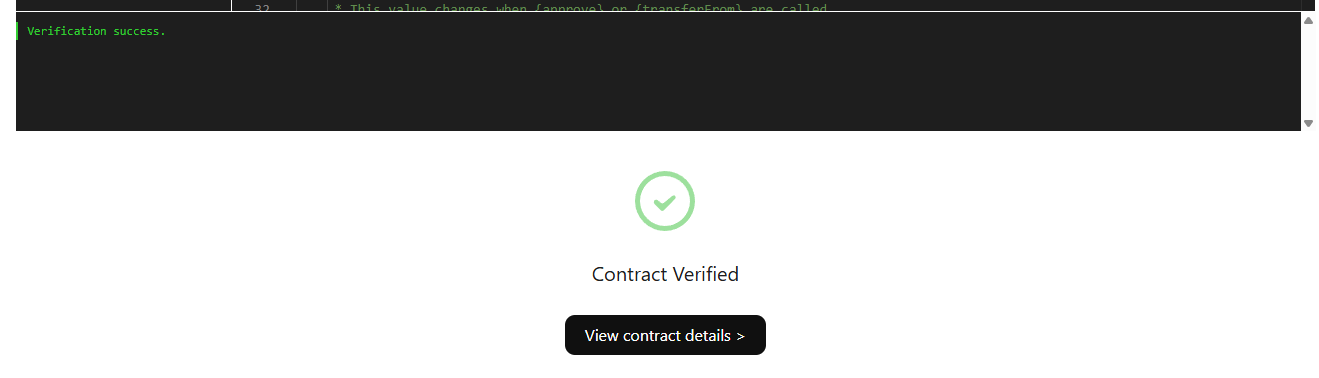
The token’s Code page will then display the uploaded source code rather than only hexadecimal bytecode: